User manual · Chapter 8
Archive profiles and albums
An archive profile holds albums you fill by hand — the keepers from a dozen shoots, a portfolio, a family year — each one a real folder you could copy anywhere.
Archive profiles
Make one with Actions → Add profile → I want to store photos for long-term viewing.
An archive profile has no devices, filters, renaming, events or stacking: those are all about photos
arriving automatically from a camera, and an archive is the opposite. Its editor holds the name, the
photo storage folder (inside PhotoFlux/Albums), File Monitoring and the display
options.
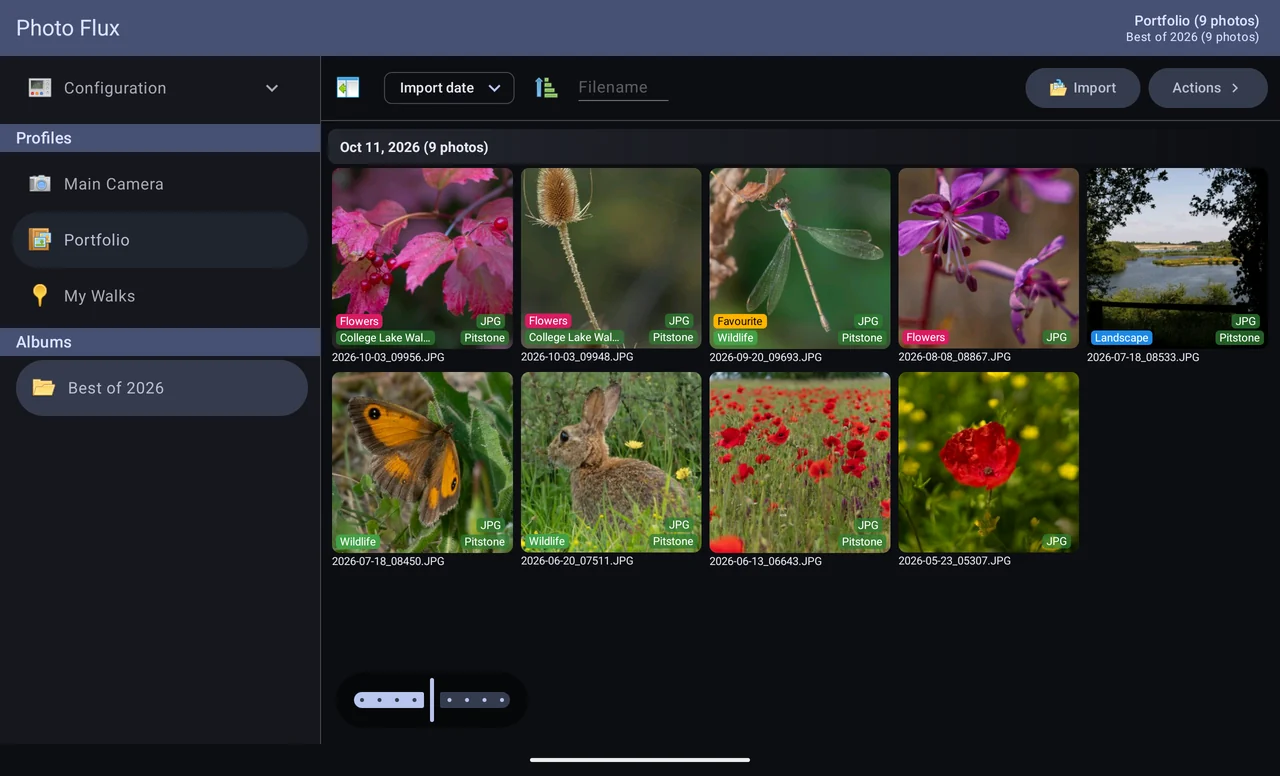
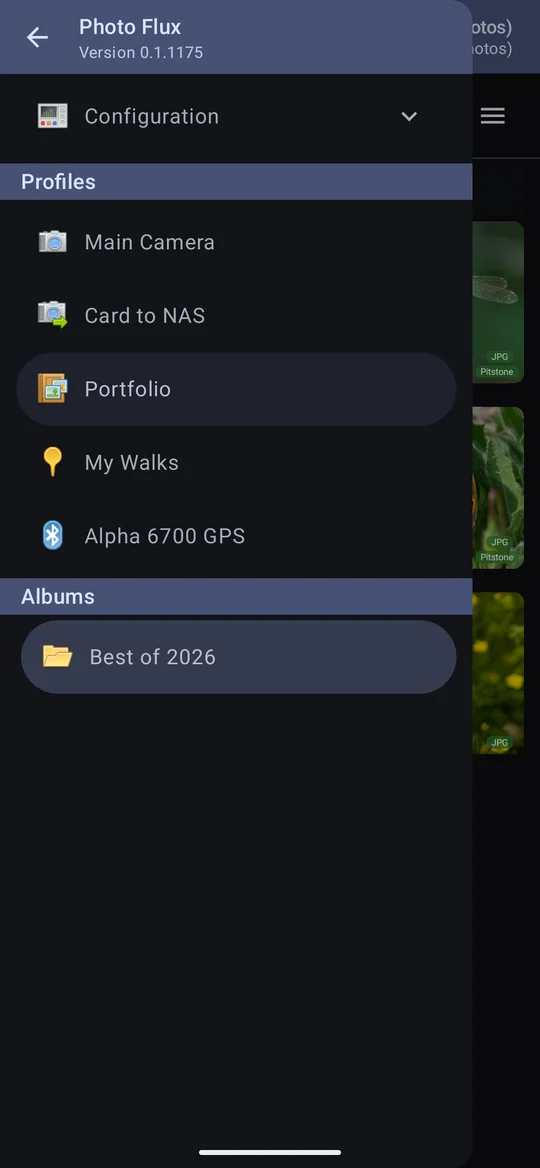
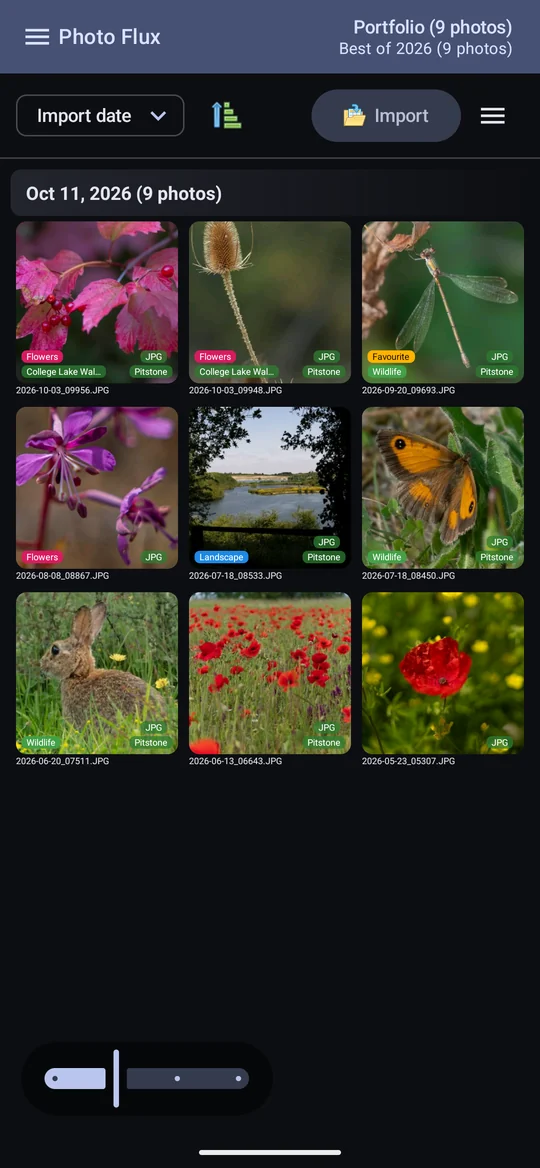
Selecting an archive profile in the drawer unfolds it into its albums — on a phone the drawer stays open so you can pick one. With a single album the profile opens straight into it; with more, the gallery asks you to choose.
Albums
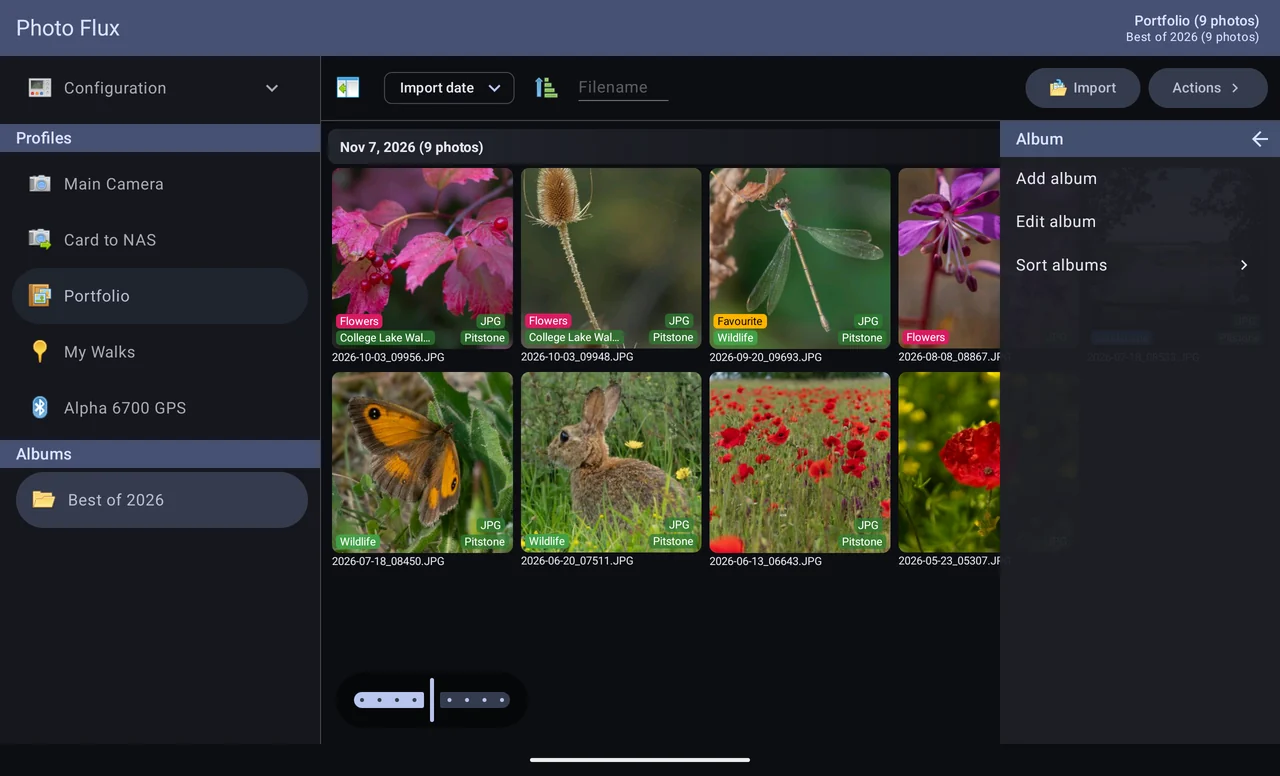
Actions → Album → Add album makes one; Edit album renames it; Sort albums sets the order in the drawer.
- An album is a real folder in the profile's photo storage, named after it. Everything in it — RAW previews included — lands in that folder, so it can be copied to a computer intact and still make sense.
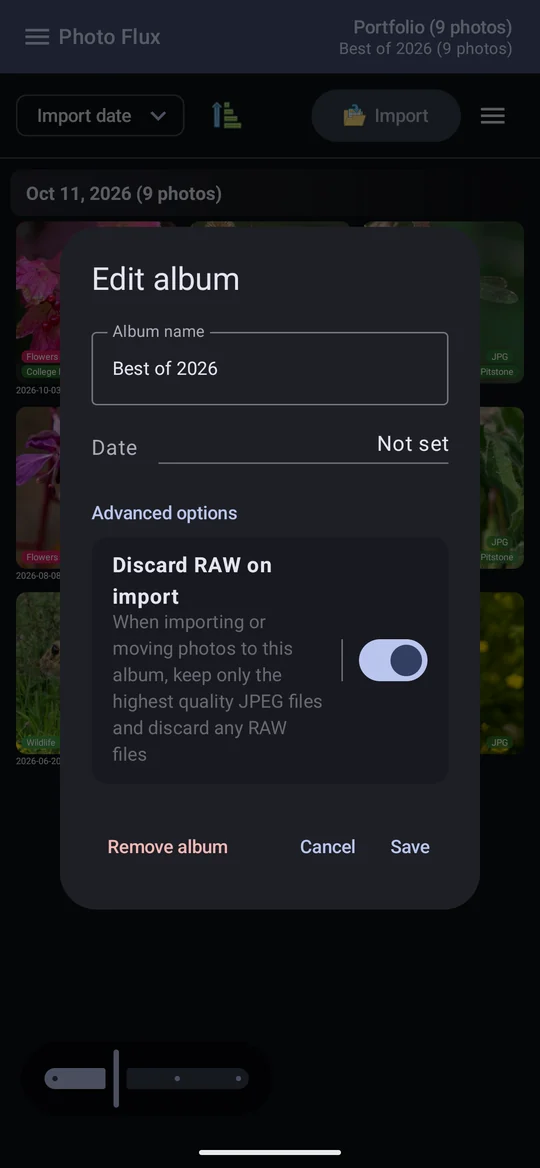
- Date is an optional year and month: when the photos were taken, not when you made the album. Set, it shows under the album's name in the drawer.
- Discard RAW on import keeps only the JPEG of anything brought into the album, for an album you only ever want to look at. New albums start with it on. Moving or copying photos in asks you to confirm, but only when they actually include a RAW. An Album Import doesn't ask, because the originals stay on the camera, card or server.
Album Import
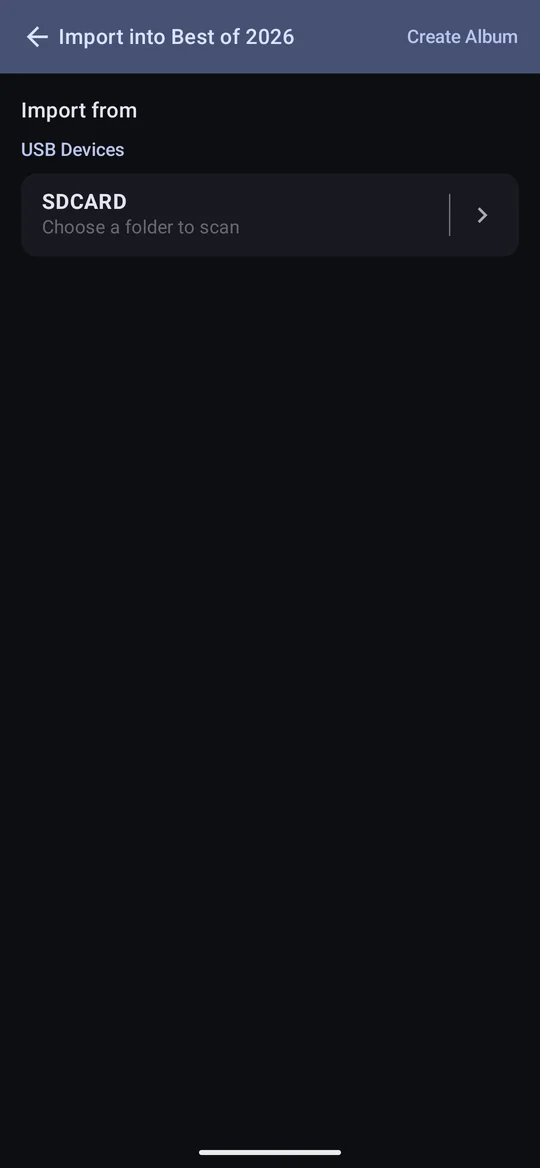
With an album open, Import fills it from a source you choose: a connected camera, a card or drive, or a connector — OneDrive, Google Drive, a NAS or a server.
A drive's first Album Import
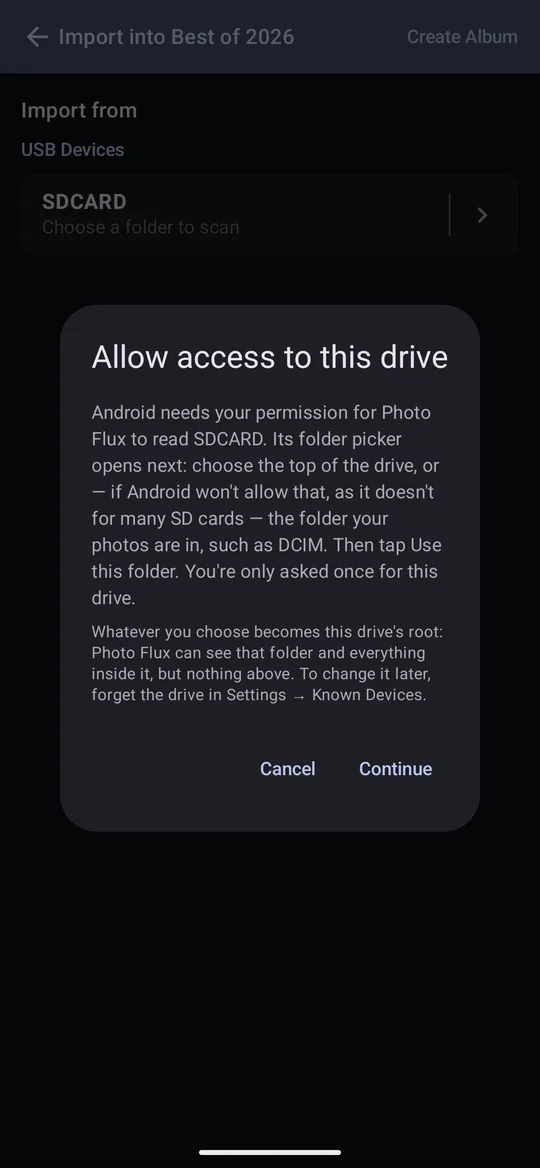
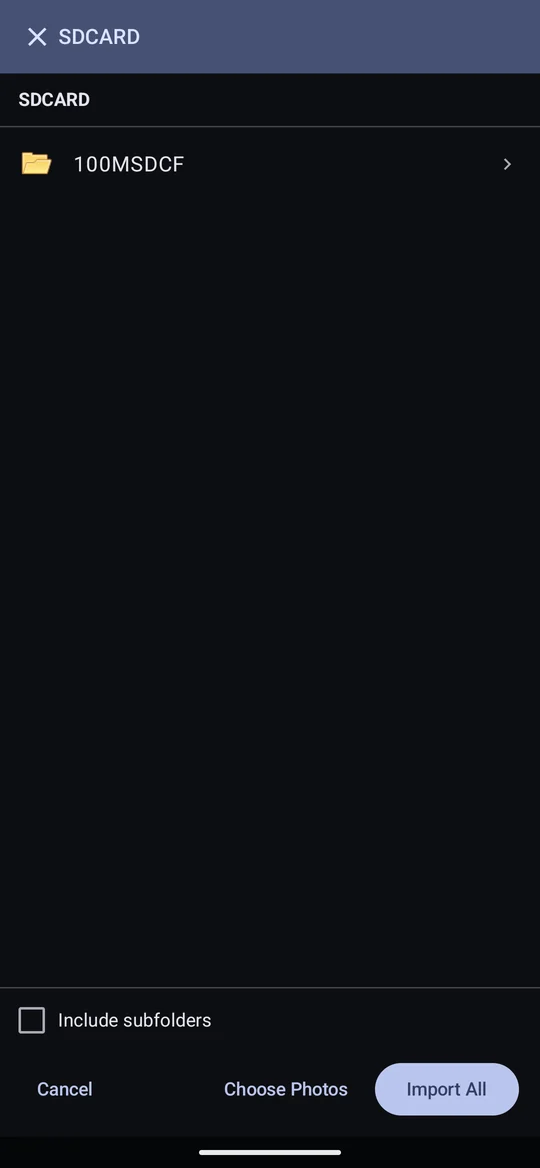
The first time you import an album from a particular SD card or drive, Photo Flux explains and then Android's folder picker opens: choose the top of the drive and tap Use this folder. Many SD cards won't allow the top ("Can't use this folder") — choose the folder your photos are in, such as DCIM. Whatever you choose becomes that drive's root: Photo Flux's own browser opens there and can't go above it. You are never asked again for that drive, even unplugged and plugged back in. A reformatted drive counts as a new one. To change the root later, forget the drive in Settings → Known Devices.
Choosing photos
Browse to a folder, then either Import All or Choose Photos to tick the ones you want. Tick Include subfolders to read every folder below as well — a card's whole DCIM tree at once (it starts unticked each time; on a camera it means listing every file over USB, so it takes longer).
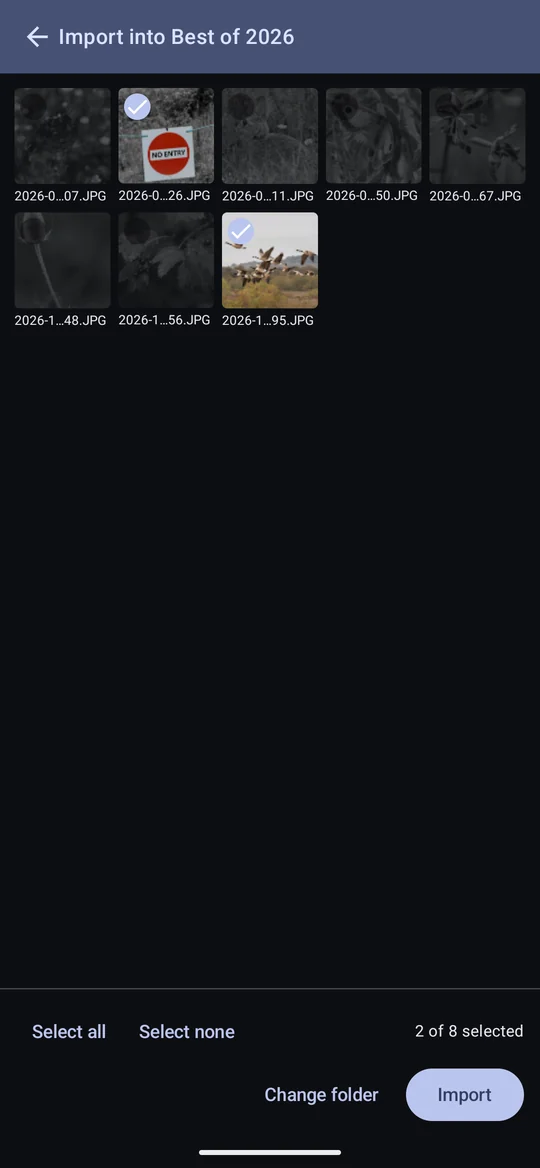
- Photos already in the album are greyed out, judged by filename alone — the same shot re-exported at a different quality still reads as already here. Ticking one changes nothing: the import skips it, and the photo in the album stays as it is.
- With Discard RAW on import on, a RAW the album has replaced with a JPEG is greyed out too. The album remembers the RAW's name, so it isn't copied across only to be discarded again.
- A RAW+JPG pair is one tile, and both files come across. You can't take half a pair.
- With subfolders included, photos are grouped under a header per folder; tap a
header to tick or untick the whole folder. A RAW and JPEG only pair within one folder, and two files
with the same name from different folders both arrive, the second as
NAME_2, as long as they come in together. Once one of them is in the album the other reads as already there, as the album goes by filename alone. - Names and sizes appear first, thumbnails after, deliberately: the list is usable straight away. From a camera the thumbnails are the camera's own small previews, so nothing is downloaded to show them — and some may appear sideways, because a camera doesn't report orientation without sending the whole file.
- Folder filters and renaming never apply to an album: the album's folder is the destination.
- Each import starts afresh. Once an import is under way, Import opens on the list of sources again. Go back into the folder and it is read anew, with what has just arrived greyed out. Leave the picker without importing and your ticks are still there when you come back to the same album; a different album starts at the sources.
Moving and copying photos into an album
Select photos in any profile, then Actions → Move to album or Copy to album and pick the album. The list shows every album except the one you are in, grouped under its profile.
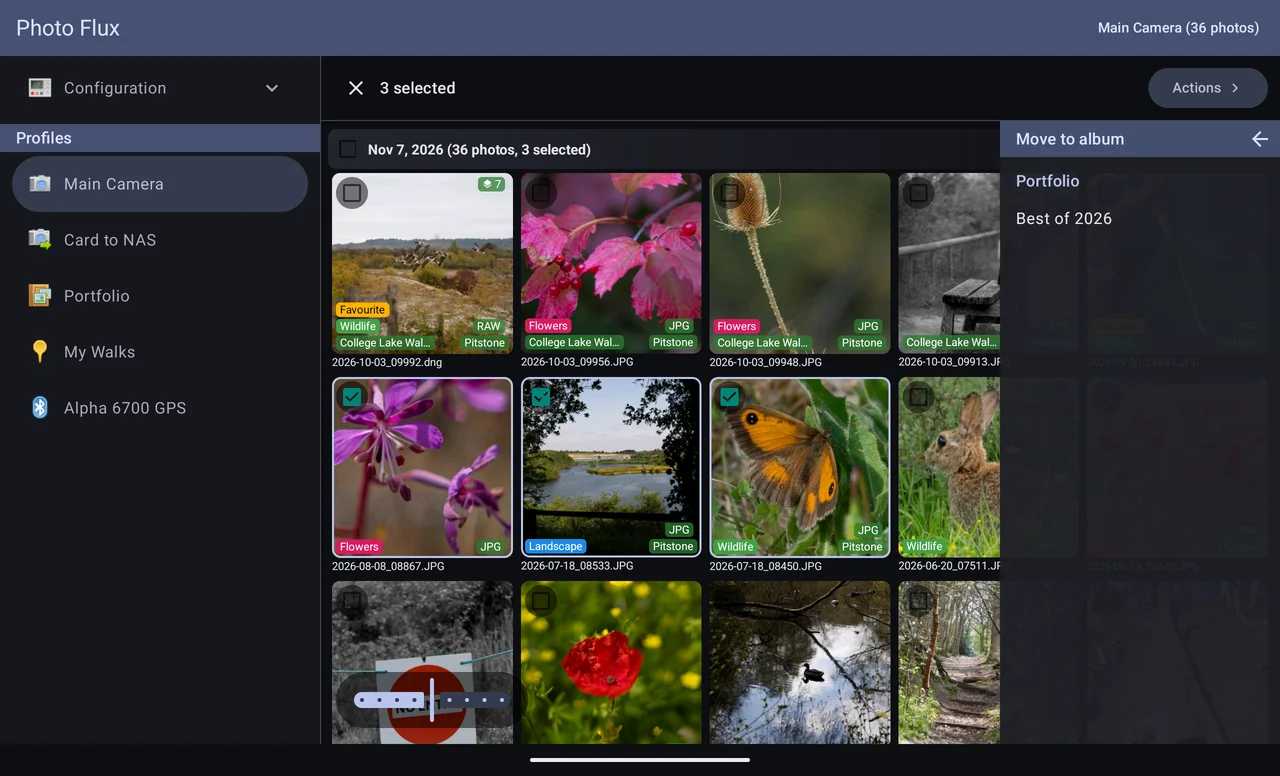
- Move rehomes the photos: they leave where they were. Copy leaves the originals (and your selection) where they are and puts copies in the album.
- Files, XMP sidecars and previews all go across, and tags, titles, events and metadata are kept. A RAW's full-size preview and a pair's JPEG follow it, so the viewer still shows a full-resolution image.
- Photos already in the album are skipped, not duplicated — a move never copies over a file and then deletes your original. If every selected photo is already there you get Already in album; if only some were, the rest go and you are told how many were skipped.
- Moving between storage locations copies the bytes, so it can take a while. The progress window has Cancel, which stops after the current file; what already moved stays moved.
- A copy made by Copy to album is never reported as a duplicate of the photo it was copied from.