
User manual · Chapter 1
Getting started
Photo Flux copies photos off a camera or memory card onto your phone or tablet and puts them in order as they arrive. This chapter gets you from installing it to your first profile.
What Photo Flux does
Plug a camera into your phone or tablet with a USB cable, or put a memory card in a card reader, and Photo Flux copies the photos into a folder on the device — no computer, no cloud round-trip. As each photo arrives it reads the camera's metadata (camera, lens, exposure, GPS), makes a thumbnail, keeps a RAW file and its JPEG together as one photo, names the place it was taken, and files it away in folders and under names you chose once.
Everything after that happens on the device too: a gallery built for culling, tags, events and titles, a map, recorded GPS tracks, and — when you are ready — sending photos on to a NAS, a server, OneDrive, Google Drive or a USB drive.
The app works through profiles. A profile is one job: "import my main camera into this folder, sorted by date", "hold my portfolio albums", "record my walks". Chapter 2, Profiles, explains the five kinds.
Every screenshot was taken on the Android emulator, in the dark theme, using a test build of the app. A test build carries a few things for testing without real hardware, and they show up in some pictures. You will not see any of them in the app from Google Play:
- "Virtual USB Device (PhotoFluxDemo)" — a folder on the emulator pretending to be a camera plugged in by USB. Where it appears (under the profile name at the top of the gallery, in a profile's Import devices, in the device lists), your own camera or card reader's name appears instead.
- "Connect Virtual USB" / "Disconnect Virtual USB" at the foot of the drawer's Configuration section, which plugs and unplugs that pretend device.
- "SDCARD" is the emulator's own memory card. On a real phone it is whatever your card reader or drive calls itself.
The photos themselves are real: a walk around College Lake nature reserve, shot on a Sony camera, with a GPS track recorded on the phone at the same time.
Installing
Photo Flux runs on Android 8.0 or later, on phones and tablets. Install it from Google Play. It is free, with an optional one-off Pro upgrade — there is no subscription and no account to make.
To import straight from a camera your device needs USB host support (almost every phone and tablet from the last several years has it) and a suitable cable: USB-C to USB-C, or an OTG adapter for a camera with an older connector.
The welcome guide
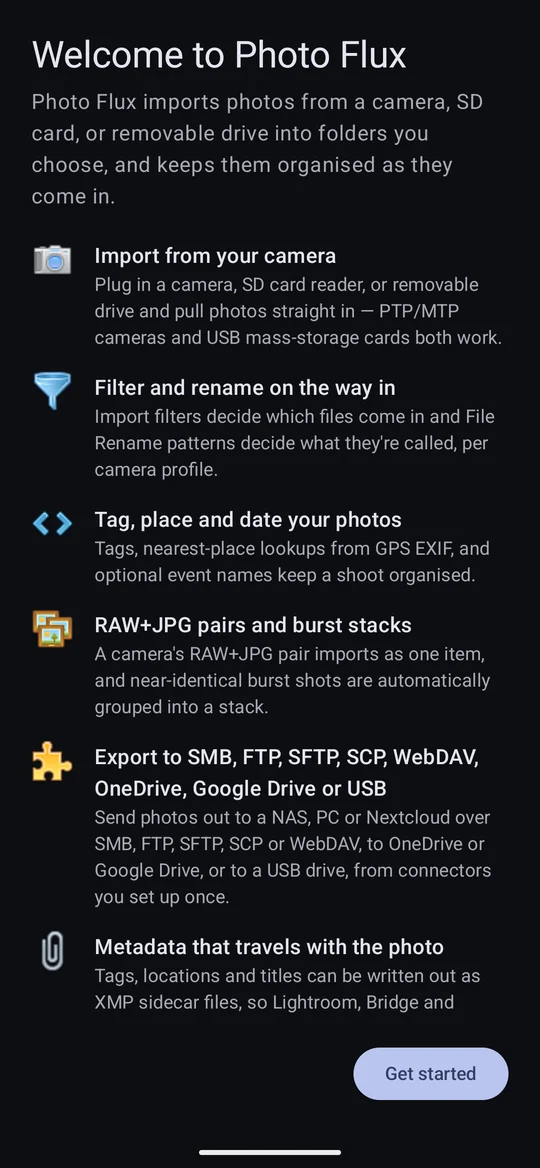
The first time Photo Flux opens, a short guide explains what it does and then takes you through the permissions it uses, one page each. Every page says why it's needed and what happens if you say no, so you can decide each one on its merits. Pages marked Optional can be skipped without breaking anything you are not using.
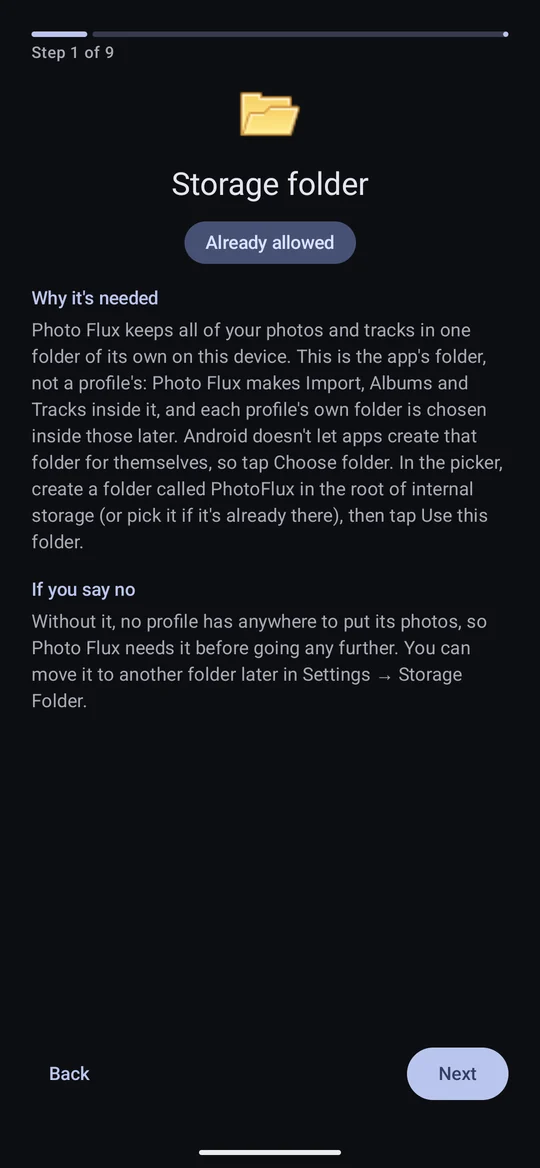
Step 1: the storage folder
Photo Flux keeps everything it imports in one folder of its own on the device. Android does not let an app create a folder at the top of internal storage by itself, so the guide opens Android's folder picker there: create a folder called PhotoFlux and tap Use this folder. Photo Flux makes three folders inside it:
- Import — each import profile's photos, in a folder per profile.
- Albums — each archive profile's albums.
- Tracks — the default place to save a GPX file.
This page cannot be skipped: until the storage folder exists no profile has anywhere to put a photo. Pressing Back on the welcome page before choosing one closes the app, and the guide starts again next time. If one of the three folders inside goes missing, Photo Flux recreates it the next time it starts. You can move the whole thing later under Settings → Storage Folder.
The permissions, page by page
| Page | What it is for | If you say no |
|---|---|---|
| Notifications | Import and export progress in the notification shade, with a Cancel button; "Import complete"; File Monitoring and tracklog alerts. | Transfers still run — you just don't see them in the shade. |
| Photo location | Stops Android stripping the GPS position out of photos Photo Flux reads off a card or drive. When Android asks about photos and videos, choose Allow all. Photo Flux does not browse your photo library. | Photos imported from a card or drive lose their location for good. Photo Flux asks again before each such import. Camera (USB) imports are not affected. |
| Device location | Recording a tracklog, and the map's Device location button. | Tracks can't be recorded; you are asked again the first time you start one. |
| Nearby devices (optional) | Finding and linking to a camera over Bluetooth for the camera GPS link. | A GPS Provider profile can't find a camera. |
| Local network (optional) | Reaching a NAS or computer on your network with the SMB, FTP, SFTP, SCP and WebDAV connectors (Android 17 and later ask for this). | Those connectors can't reach anything on your network until it is granted. |
| USB camera access | Nothing to grant now: Android asks the first time you plug in each camera, with a box to remember the answer. | — |
| Choosing folders | Explains that folders inside the storage folder need no further permission, while a card, a drive or a USB-drive connector is granted through Android's folder picker the first time you use it. | — |
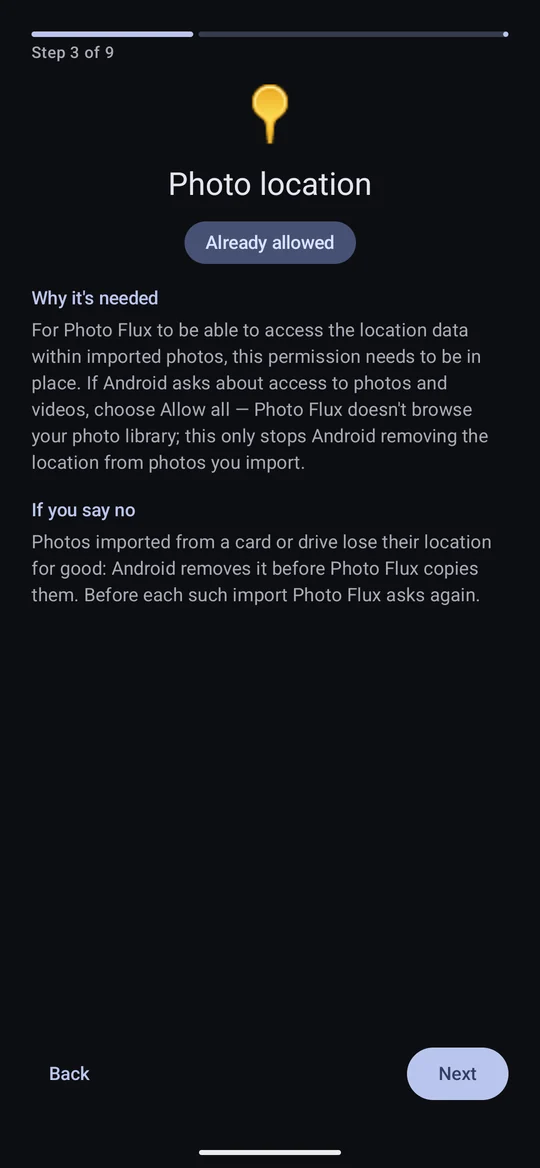
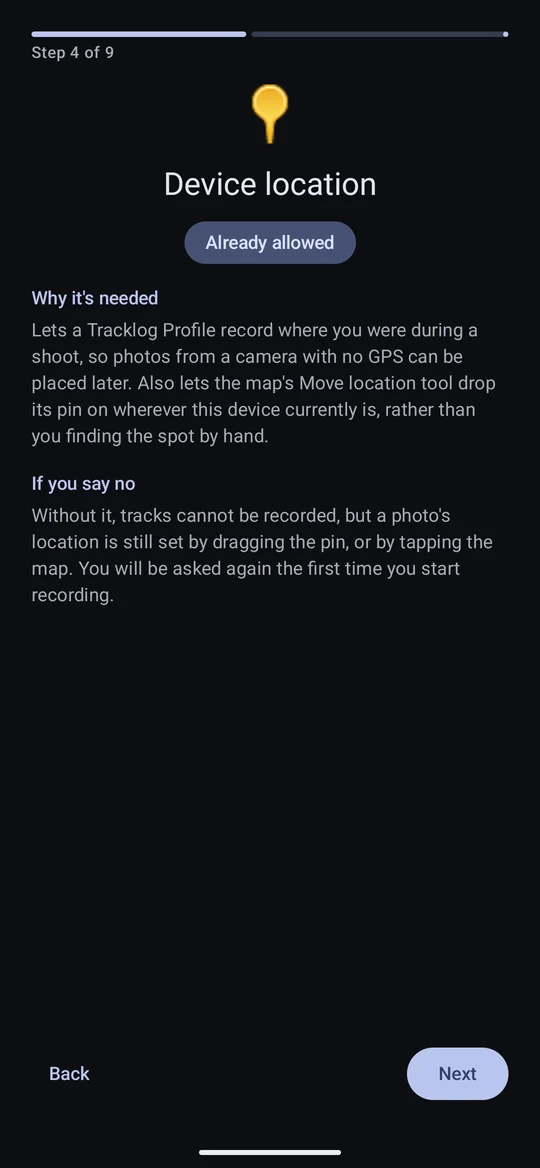
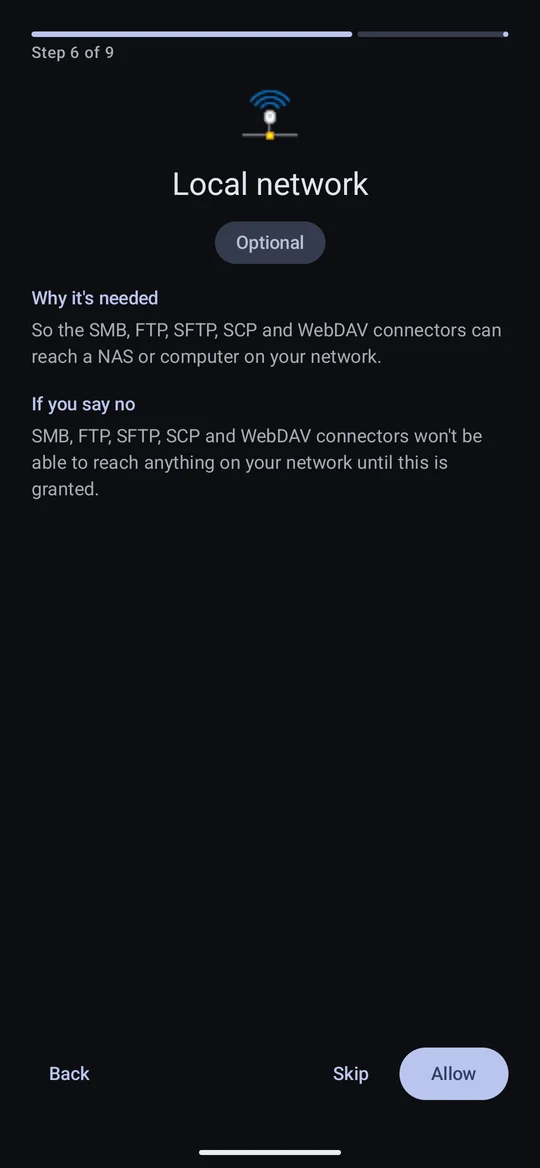
Nothing here is permanent. Settings → Help → Replay welcome guide runs the whole guide again, and every permission can also be changed in Android's own settings.
After an update
When an update brings new features, the first time you open it shows Photo Flux has been updated before the app: a short list of what is new since the version you had, and an OK button. Each feature is shown once. An update that only fixes things shows nothing, and neither does a new install — the welcome guide covers everything there.
The tour and the Example Profile
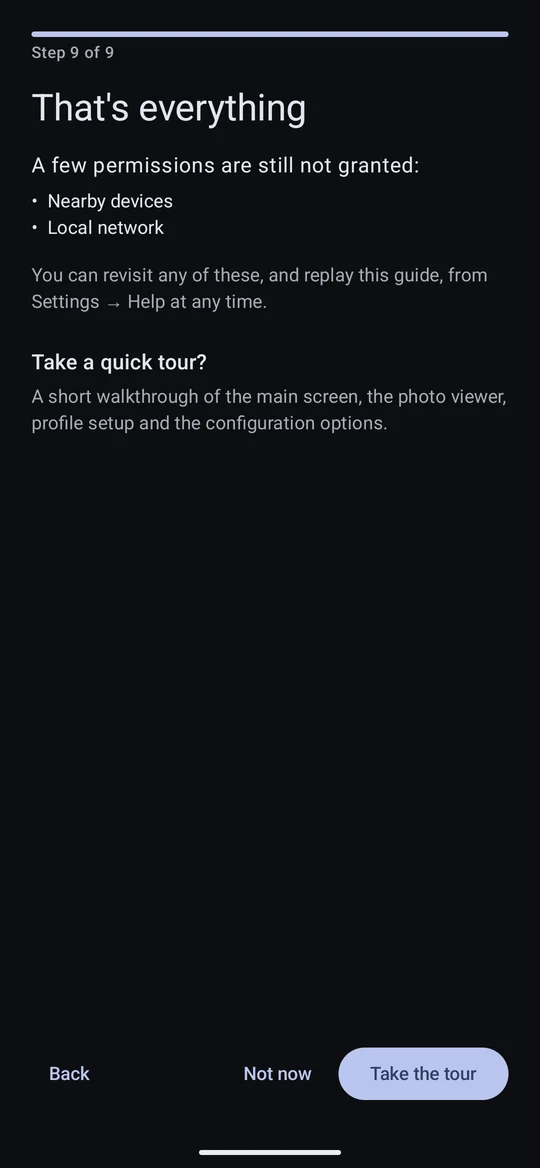
The guide's last page offers a quick tour — a short walkthrough that points at the real controls on the main screen, the photo viewer, profile setup and the configuration options. It is only ever shown when you ask: say Not now and it never appears on its own again. Settings → Help → Replay tour brings it back whenever you want it.
Taking the tour adds an Example Profile holding ten sample photos, so the tour has
something real to point at. It is an ordinary profile whose photos live in
PhotoFlux/Import/Example Profile: explore it, export from it, rename it or delete it.
It does not count towards the five profiles the free tier allows, and replaying
the tour reuses it rather than importing the photos again. It has no camera of its own — add one
in its Import devices if you want to import more into it.
Finding your way around
The main screen is the gallery of whichever profile is selected. Until you have a profile it says what will appear there and offers Create your first profile.
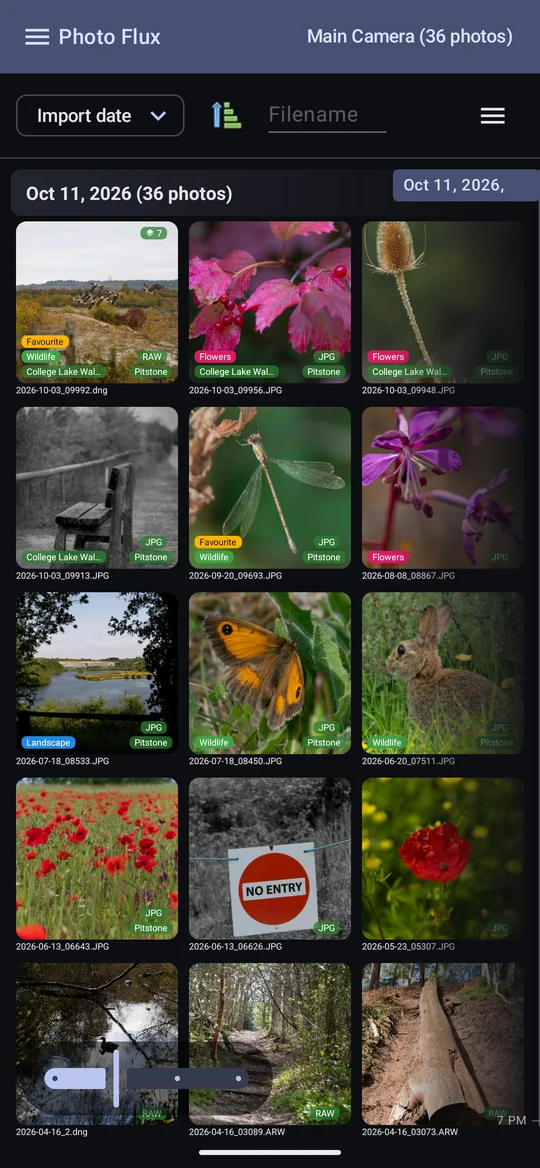
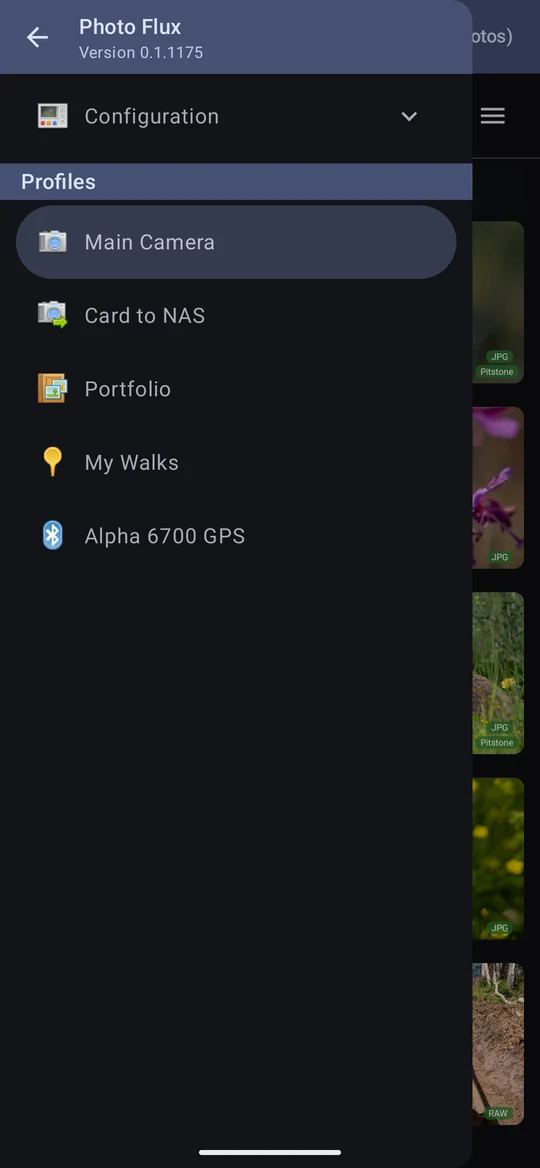
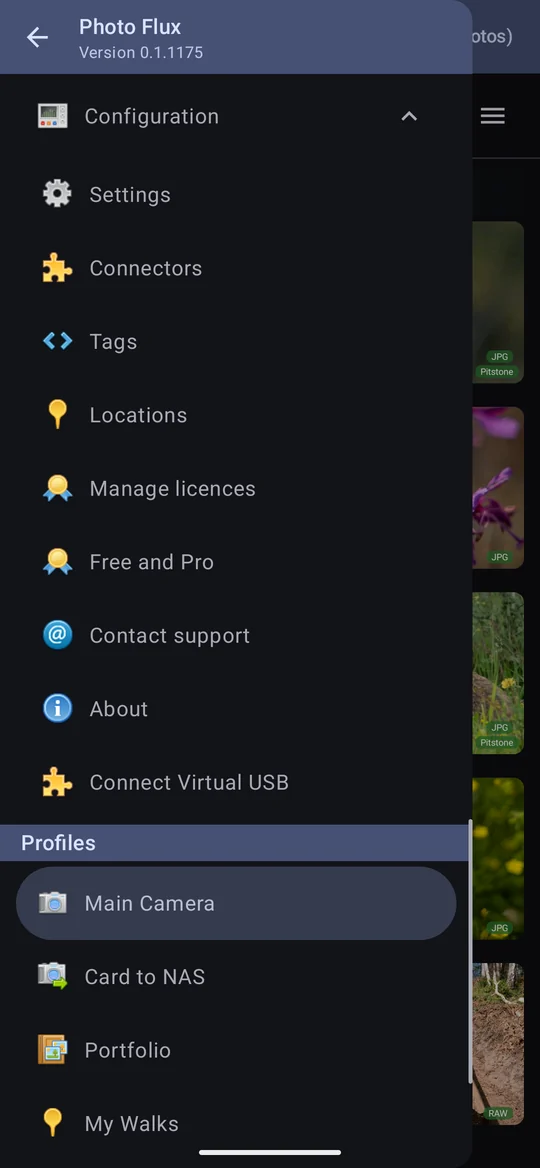
- The title bar
- The profile's name and photo count on the right, and under it the camera or card currently connected to that profile, if there is one.
- The drawer (☰)
- Profiles lists every profile; tap one to show it. An archive profile unfolds into its albums and a tracklog profile into its tracks. Above, Configuration folds open to Settings, Connectors, Tags, Locations, Manage licences, Free and Pro, Contact support and About. The back arrow at the top, beside the version number, closes the drawer.
- The toolbar
- The sort order and its direction, Import while a device is connected, and Actions — the panel that holds everything else you can do in this profile. See The gallery.
On a tablet
A tablet is not a stretched phone. In landscape the drawer becomes a permanent side panel, the grid goes five across, the photo viewer and Comparison Reject put things side by side, and forms such as the metadata screen spread into columns. Everything in this manual works the same on both; where a screen looks different on a tablet, the chapter shows both.

Your first profile
Open Actions → Add profile (or tap Create your first profile) and answer the questions. For a camera or card, choose I want to import photos from a camera. Have the camera or card plugged in when you get to the devices page, so you can tick it. The next two chapters cover the wizard and the import in full: Profiles and Importing photos.