
User manual · Chapter 5
The gallery
The gallery is where you spend most of your time: a fast grid of the profile's photos, sorted and filtered however you need, with everything you can do to them one tap away in Actions.
The grid
The gallery shows the photos of the profile (or album) selected in the drawer, grouped under headings — by day when sorted by date, by place when sorted by location — each with its count. Tap a photo to open it in the viewer.
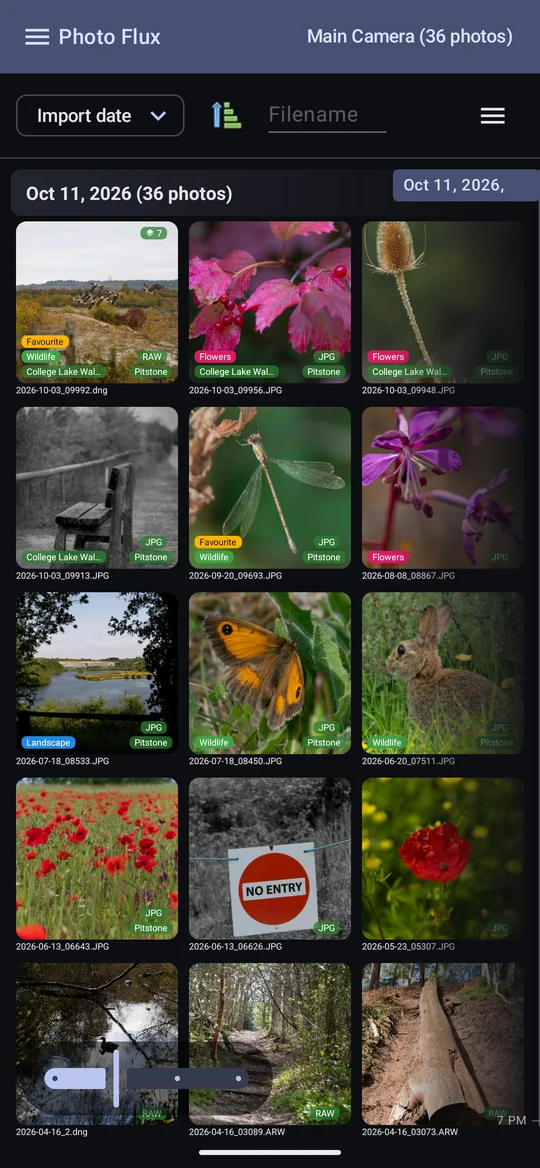
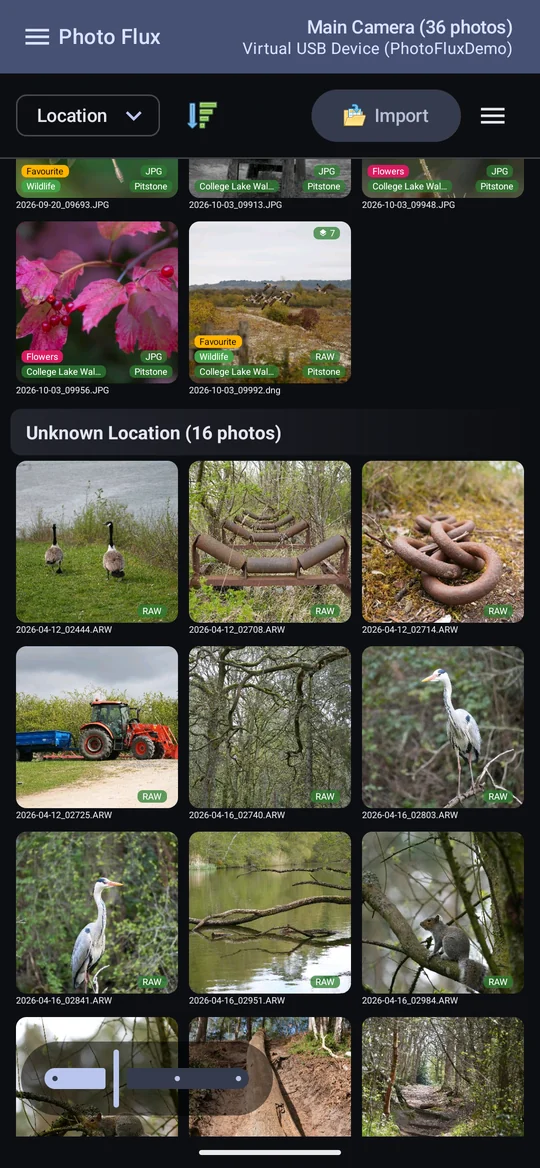
Changing the size. The slider at the bottom left sets how many photos go across — further right is fewer, bigger photos, and further left more, smaller ones. Pinching the grid does the same, a step at a time.
The badges on a photo
| Badge | Shows |
|---|---|
| Coloured chips, bottom left | The photo's tags, each in its tag's colour. Only the first few fit; the rest collapse into "+N". Open the photo to see them all. |
| Event chip | Its event. |
| RAW / JPG, bottom right | The file format. A RAW+JPG pair shows RAW. |
| Place, bottom right | The nearest place to where it was taken. |
| Count, top right | A stack, and how many photos are in it. |
| Caption, under the tile | The filename — switched on or off per profile. |
Every badge can be hidden or restyled in Settings → Display. Hiding one only hides it: the tags, places and events are all still there, still filter, and still get written into your files.
Sorting
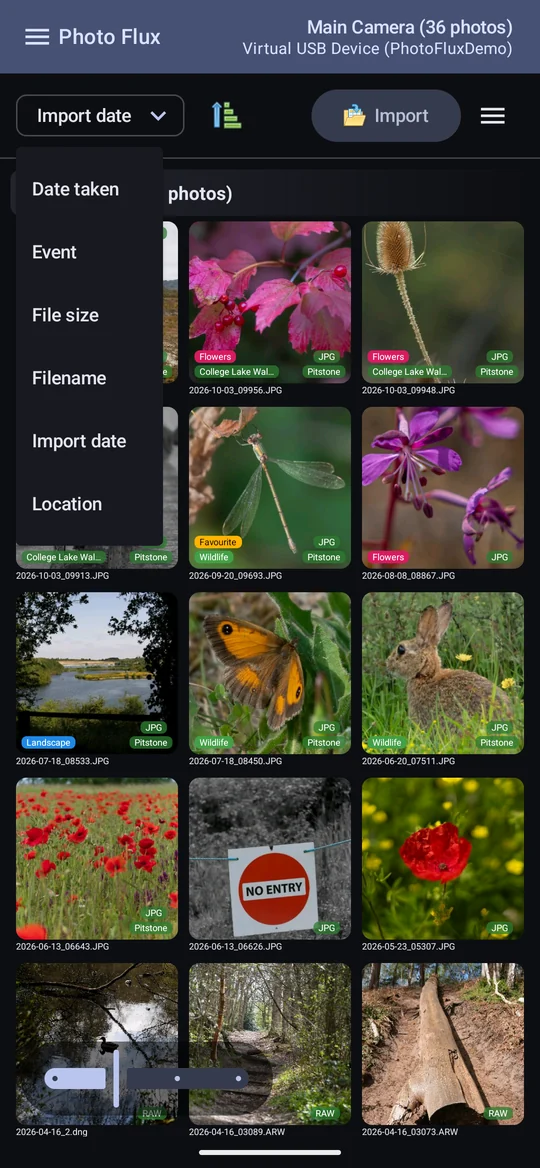
The dropdown at the top left chooses the order — Date taken, Event, File size, Filename, Import date or Location — and the button beside it flips between ascending and descending. Either one takes you back to the top of the grid, so a new order starts from its beginning. Opening a photo or a stack and coming back keeps your place.
Sorting by Location orders photos alphabetically by place, with a heading for each. Photos with no place gather under Unknown Location, which always comes last (first, when the order is flipped).
Filtering
Actions → Filter by narrows the gallery to the photos you want. Each filter you set appears as a chip above the grid; tap its ✕ to remove it.
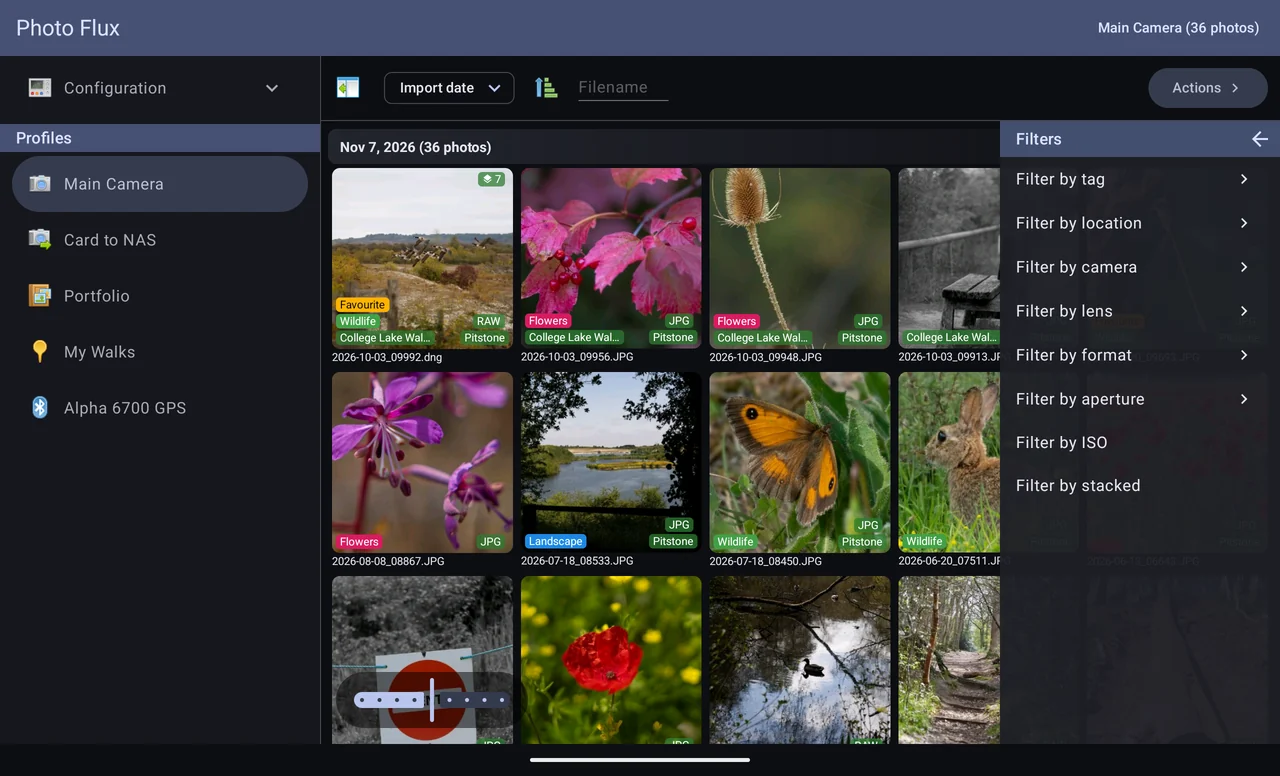

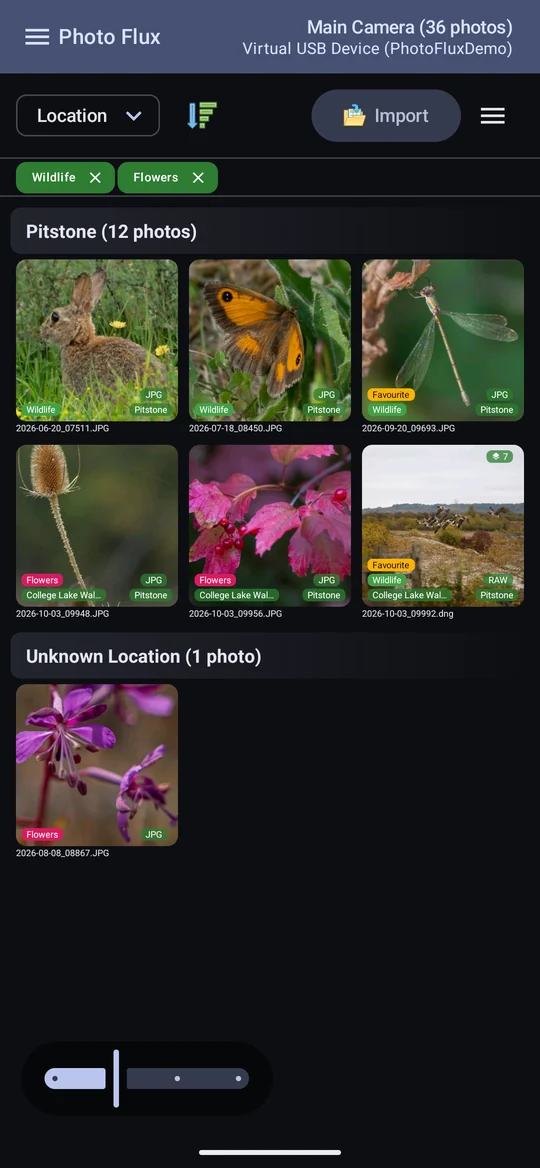
- Tag, location, camera, lens, format, aperture are each a list to tick. Within one list a photo matches if it has any of the ticked values; across lists, it has to match all of them. So tags Wildlife and Flowers with format RAW shows RAW photos tagged either.
- Each list offers every value across all your imported photos, not just this profile's, so a value may give nothing here.
- Camera is the EXIF model (or make); lens is the lens model (or its specification). A body or lens that records neither won't appear.
- Format is the original file's type, and a RAW+JPG pair counts as its RAW only — so "JPG" shows standalone JPEGs, never pairs.
- Aperture is rounded to one decimal place: f/2.8, f/4.
- Location includes Unknown Location, matching photos with no place.
- ISO is a range, not a list: drag the two ends. Its stops are the ISO values your photos actually have, evenly spaced rather than to scale. A photo with no ISO recorded drops out once a range is set; leaving the slider at full width is the same as no ISO filter.
- Stacked shows only stacks.
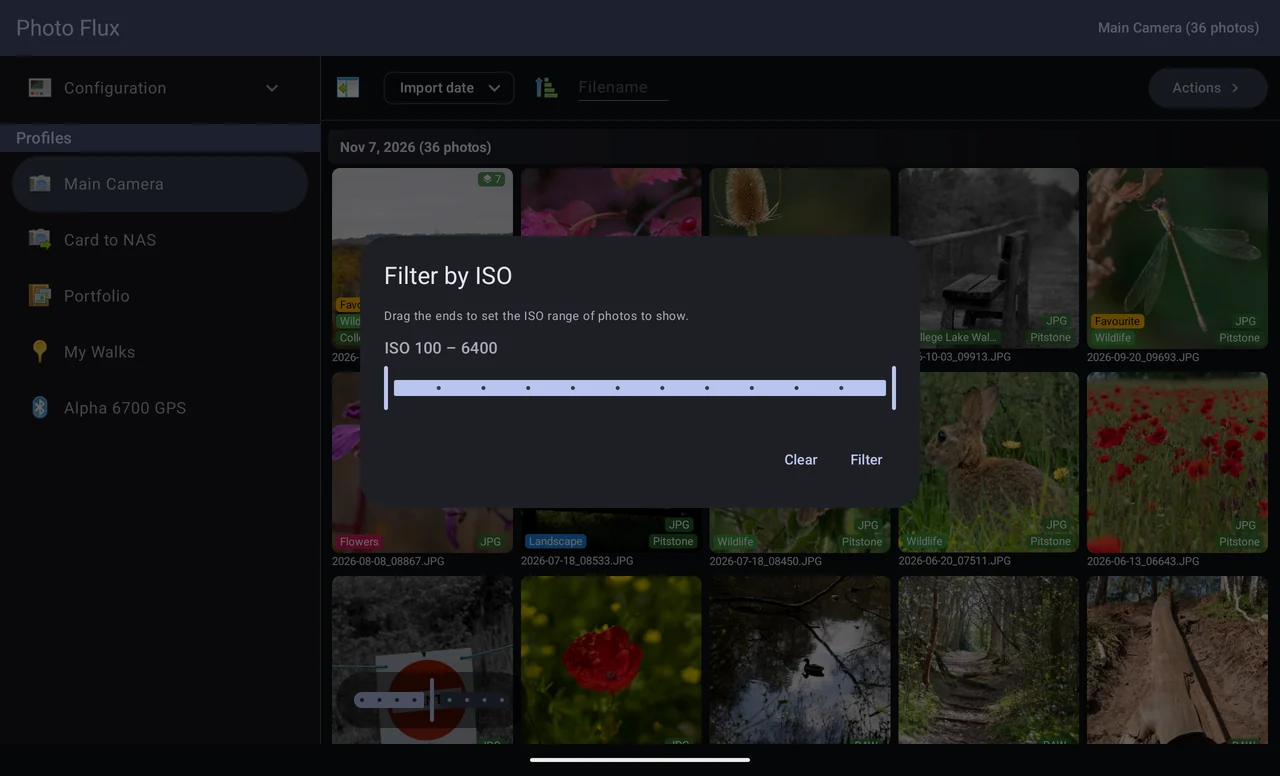
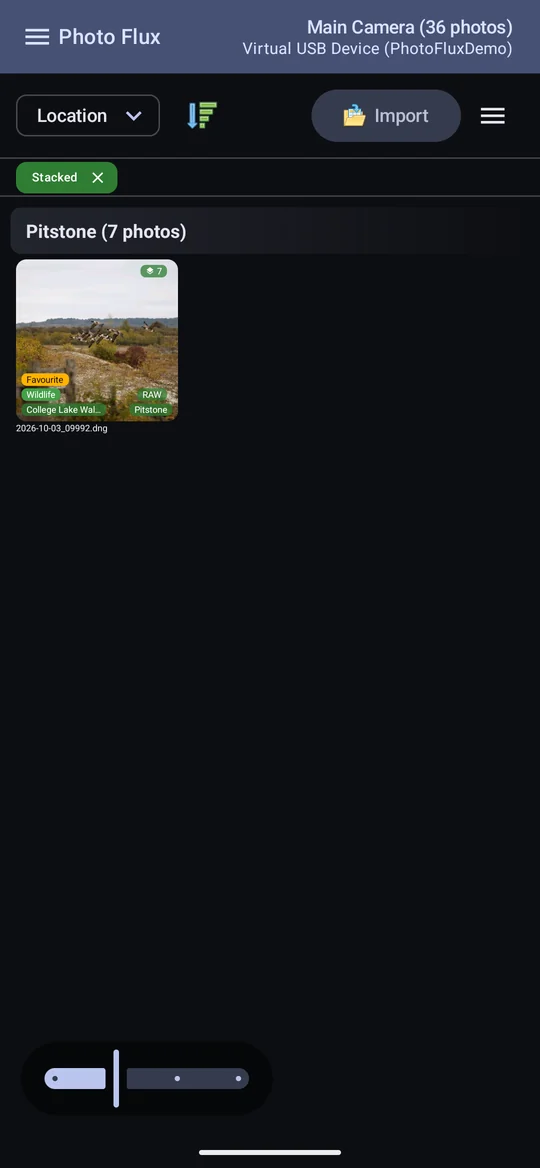
Filters last until you clear them or close the app. On a tablet, and on a phone with no other filter set, the toolbar also has a Filename box: type part of a name to find it. On a phone in portrait there isn't room for both, so while a value filter is active the filename box is replaced by Clear filters — and the filename filter is emptied, so it never keeps filtering out of sight. Searching by name finds photos inside stacks too.
Stacks
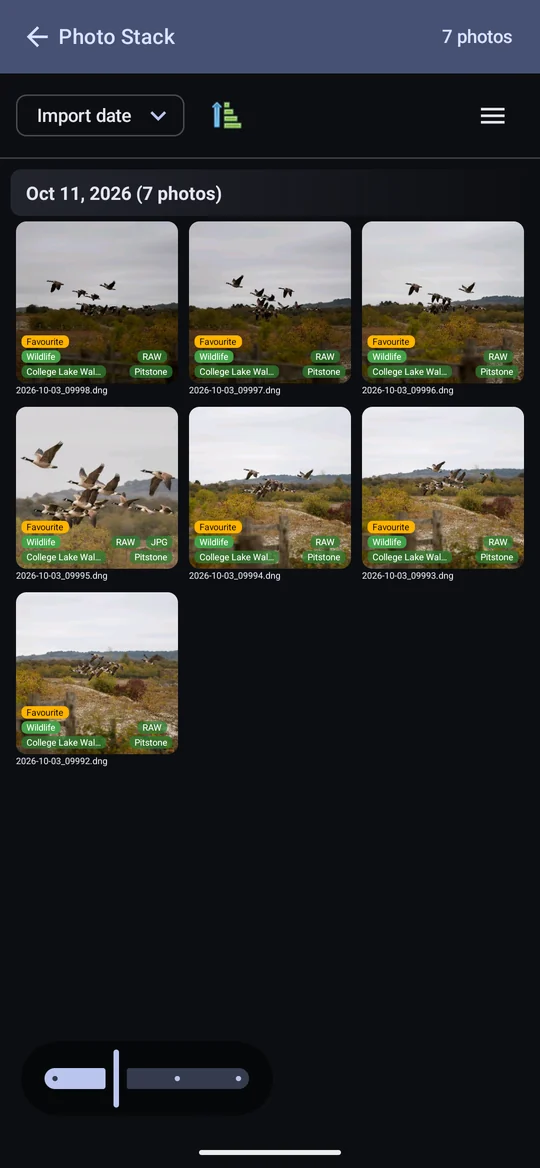
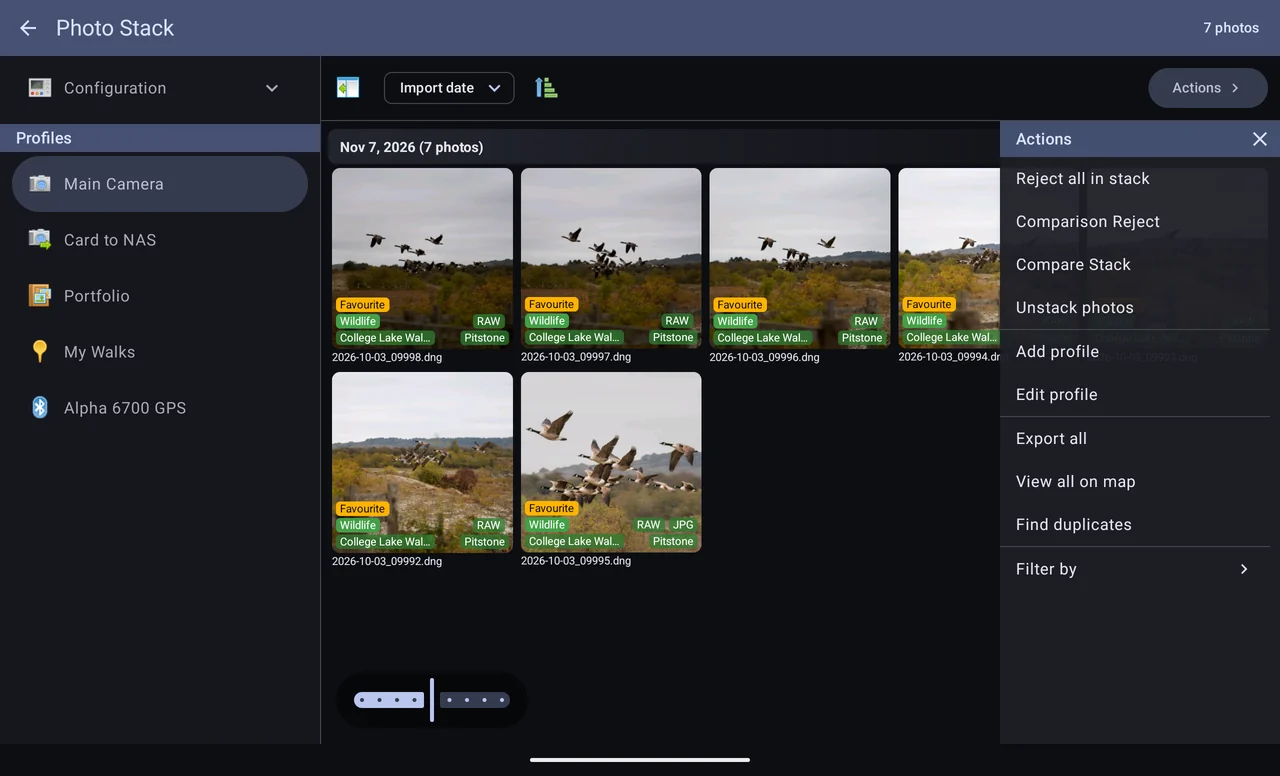
A stack is a group of photos shown as one tile — a burst, or a run of bracketed exposures. The tile shows its first photo you haven't rejected and a count; tap it to open the stack. Inside it the title bar reads Photo Stack, with how many photos it holds in place of the profile's name, and the back arrow at the left of the title bar (or your phone's own back gesture) brings you back to the gallery.
Auto photo stacking
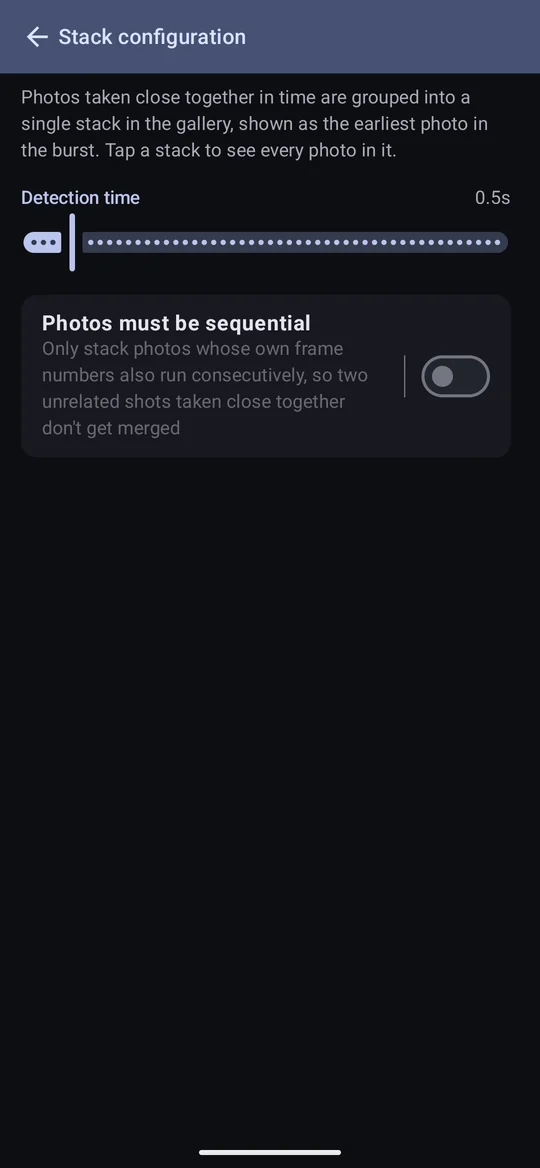
Switched on in the profile editor, Auto photo stacking groups photos taken close together in time. Detection time is how close; Photos must be sequential also requires their frame numbers to run on, so two unrelated shots taken a moment apart aren't merged.
- A stack is worked out as the gallery is drawn, not stored. Turning it on, or changing its settings, regroups the gallery at once; nothing is written to the photos, nothing needs re-importing, and turning it off loses nothing.
- A stack you make yourself — Actions → Stack on a selection, or Stack these on the Duplicates screen — is always shown, whether auto stacking is on or off. Unstack photos undoes one.
- Filters apply inside stacks. If a filter leaves only one photo of a burst, it shows as a plain photo.
Selecting photos
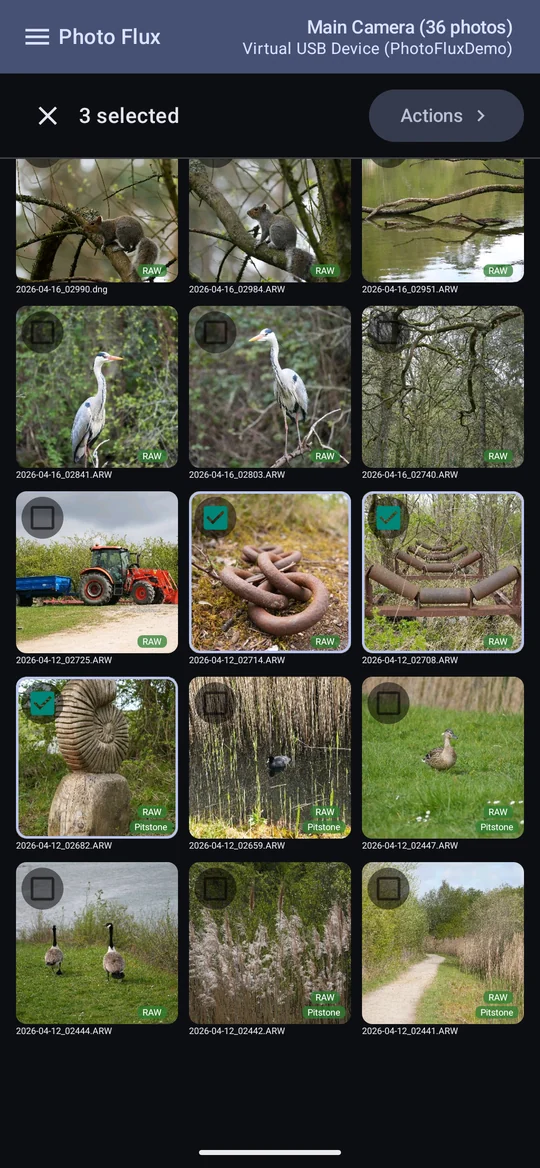
Long-press a photo to start selecting, then tap others to add them. The bar shows how many are selected; ✕ ends the selection. Actions then applies to the selection.
The Actions panel
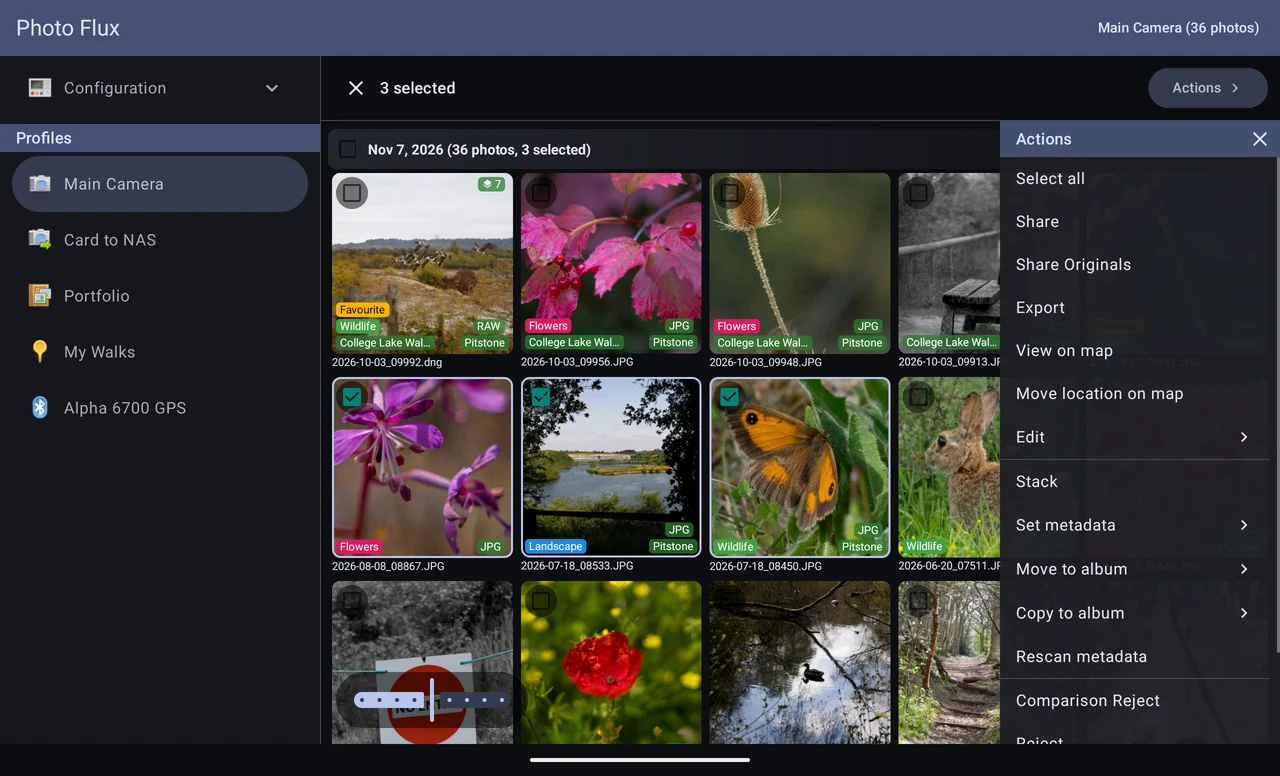
Everything you can do in the gallery is in Actions, which slides in from the right. Without a selection it holds the profile's own actions; with one, the actions for those photos.
| Action | What it does |
|---|---|
| Add profile, Edit profile | Chapter 2. |
| Album | In an archive profile: add, edit and sort albums. Chapter 8. |
| Export all / Export | Send the photos through a connector. Exporting. |
| View all on map / View on map | The map. Pro |
| Move location on map | Give the selection a position. Details. Pro |
| Find duplicates | The Duplicates screen. Pro |
| Filter by | Filtering. |
| Select all | Every photo currently shown. |
| Share, Share Originals | Sharing. |
| Stack | Make the selection into one stack. |
| Set metadata | Tags, location, event, title, and Rebuild metadata. Chapter 7. |
| Move to album, Copy to album | Chapter 8. |
| Edit | Paste edit settings or apply a saved preset to every selected photo. Details. Pro |
| Rescan metadata | Read reject flags back from the files, and find photos whose files have gone. Details. |
| Comparison Reject, Reject, Clear rejected | Chapter 9. |
| Remove | Delete the photos and their files from the device. Nothing on the camera or card is touched. |
With an archive profile's album open, a selection's actions leave out Tags, Location, Title, Stack and Rebuild metadata — an album is a finished set, not a shoot being sorted. Event still applies.
Paste edit settings Pro
Copy a photo's edit settings first — Copy settings in the Edit panel, or Copy edit settings in the viewer's Actions (see Presets and copying edits). Then select the photos to change and choose Edit → Paste edit settings. Photo Flux works through them in the background with a progress bar you can cancel, writes the settings into each photo's file as the Edit panel does, and redraws the thumbnails. When it finishes it says how many took the settings. Any photo Photo Flux has only a stored thumbnail of — a RAW whose preview couldn't be read — is skipped and counted, since it can't be edited.
Apply preset works the same way with one of your saved presets: select the photos, choose Edit → Apply preset, then the preset.
On a tablet
The profiles stay in a side panel (hide it with the button at the top left of the toolbar), the grid goes wider, and the filename box is always in the toolbar.
