
User manual · Chapter 10
The map and locations
Photo Flux names where every geotagged photo was taken without asking anybody, puts your photos on a map, and lets you correct a position or name a place yourself.
Nearest place
When a photo has a GPS position, Photo Flux names the nearest place — Pitstone, Marsworth — and shows it on the photo's badge. The lookup happens entirely on the device, from a database of place names built into the app (GeoNames). There is no lookup service and nothing is sent anywhere, so it works with no signal at all.
- Positions are snapped to a roughly 1 km grid before the lookup.
- Within one import, photos within about 3 km of a place already named in that run share its name, so a single walk doesn't scatter across neighbouring villages.
- A place you have named yourself wins over the built-in database inside its radius.
- Photos with no position have no place, and gather under Unknown Location when sorting or filtering by location.
A photo with no GPS of its own can get a position three ways: from a recorded track at import, from a Sony camera fed a position by the camera GPS link as it shoots, or by placing it on the map.
The map Pro
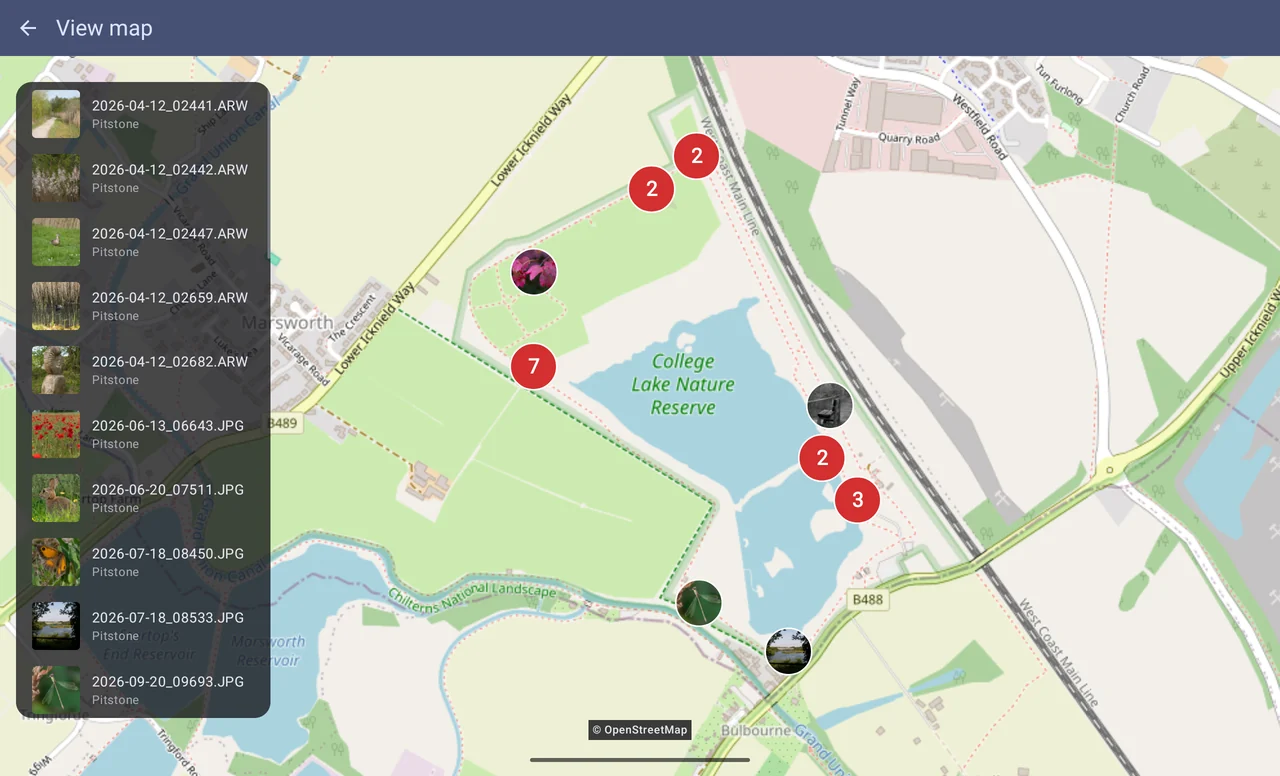
Actions → View all on map plots every photo in view; with photos selected, View on map plots just those; in the viewer, View image on map plots the one photo. To map a single day or album, select it first. The map is OpenStreetMap, so it needs a connection to load ("Map needs an internet connection" when there isn't one); tiles it has already shown are kept.
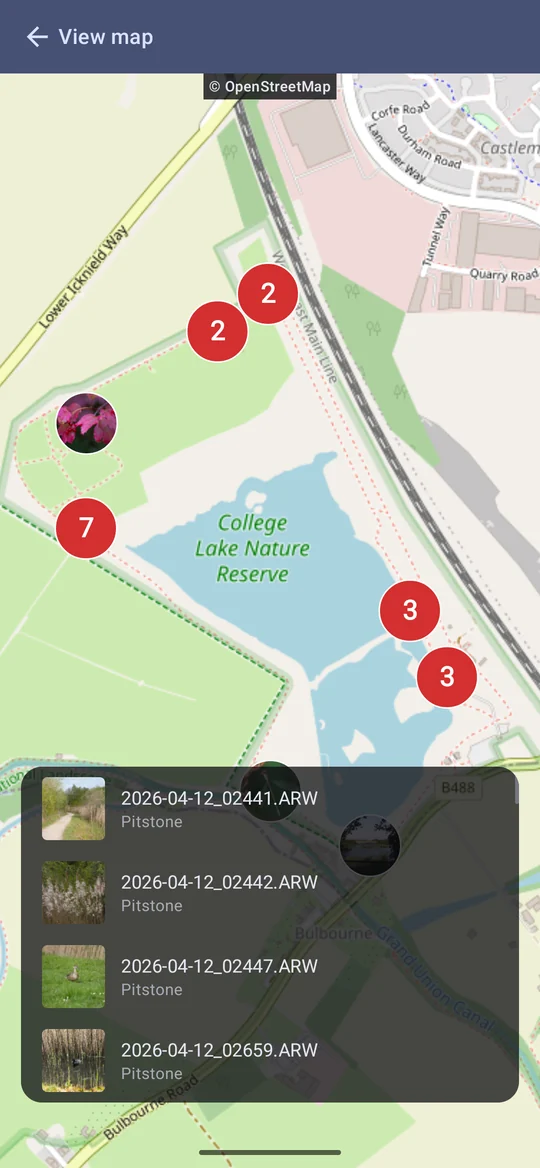
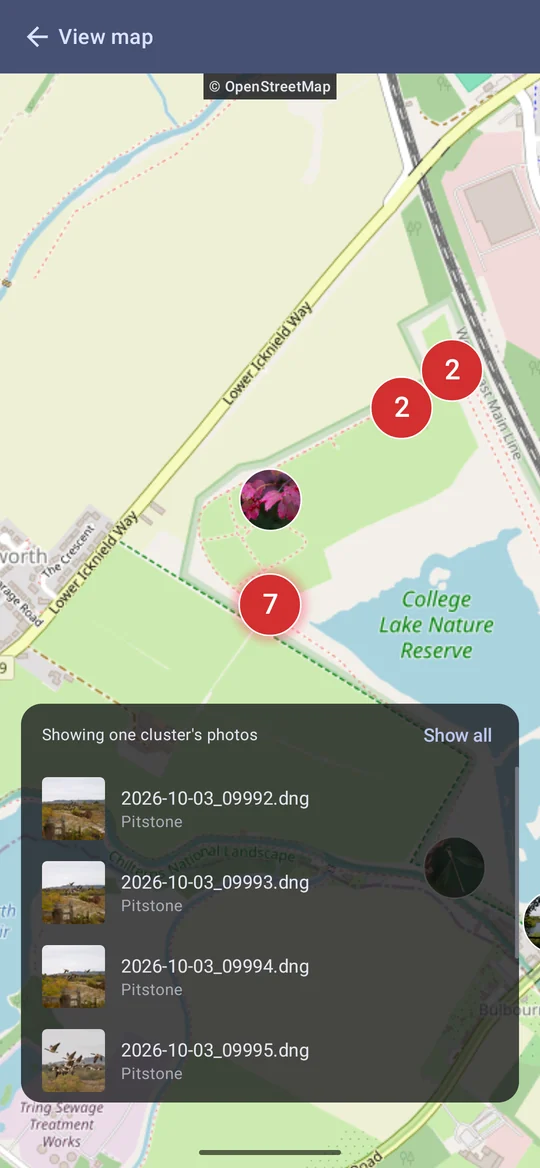
- Photos close together are drawn as a cluster with a count; zoom in and they split into the photos themselves.
- Tap a cluster to narrow the list below the map to its photos; Show all brings everything back. Double-tap it to zoom in.
- Tap a photo in the list to open it.
On Free the map screen still opens, dimmed, with a link to upgrade.
Moving a photo's location Pro
Move location on map — in the gallery's Actions for a selection, and in the viewer — opens the map with a pin. Drag the map under the pin (or double-tap a spot) and tap Move photos. The confirmation shows the old place, the new one and how far it moved.
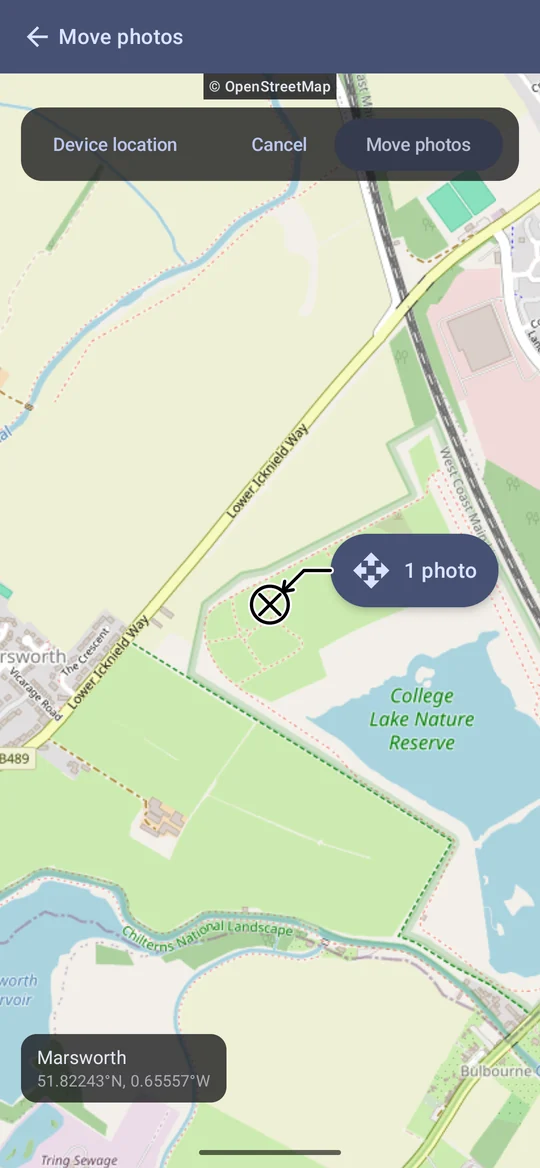
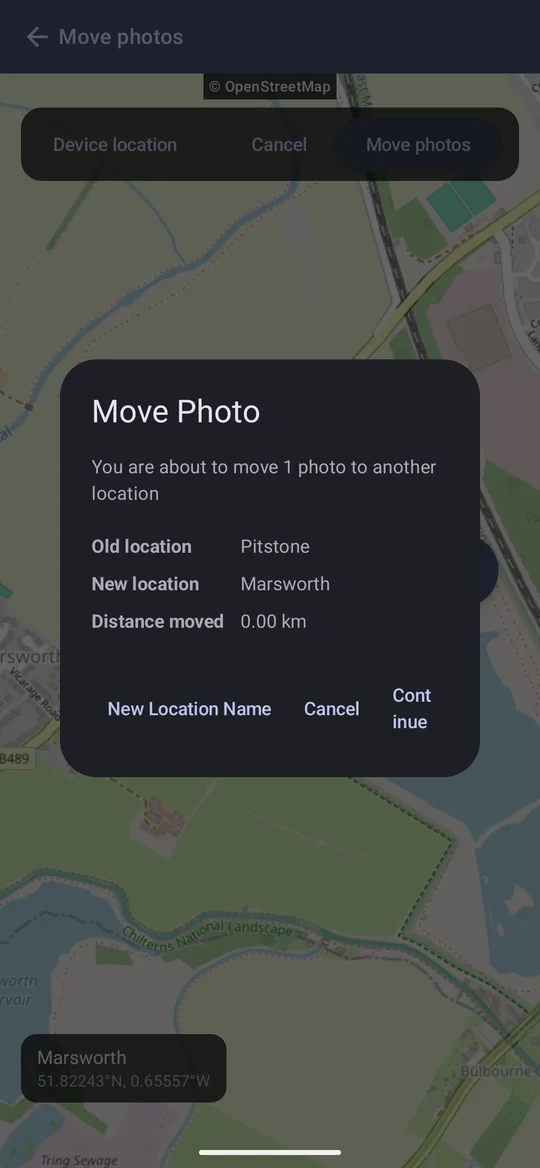
- It is the only way to give a position to photos that have none — they can't be picked on the map itself, so start the move from a selection in the gallery. When none of the photos has a position, the map opens on where the device is.
- Device location drops the pin where you are standing. It uses Android's location permission once, at that moment; nothing is tracked or stored, and Approximate works fine.
- The place name follows the pin. New coordinates are written and the nearest place is worked out again, so the badge, sorting and filtering follow. If there is no named place near the new spot (mid-ocean, say), the coordinates change and the old name is kept.
- It can move files. If the profile's folder filter currently sorts by place, the photos' files move into the new place's folder.
- The new position is written into the photo — inside a JPEG or DNG, or into a RAW's sidecar.
Naming places yourself
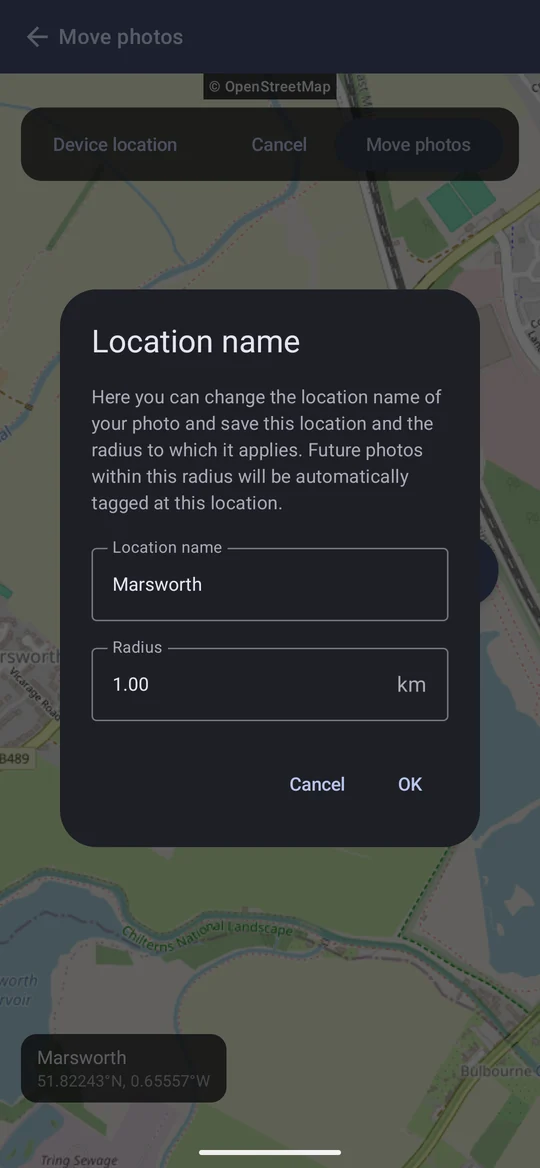
The built-in database knows towns and villages, not your garden, a reserve or a favourite viewpoint. A custom location is a name, a centre and a radius: any photo whose position falls inside it takes that name instead. Pro to make one; once made, it keeps working on Free.
Name one on the spot with New Location Name while moving photos, or on the Locations screen.
- New imports inside the radius pick it up automatically.
- Photos already imported catch up when you run Rebuild metadata on them (Actions → Set metadata → Rebuild metadata). Rebuild only ever applies a saved location; it never re-runs the built-in lookup, so a place you typed by hand outside any saved radius is left alone.
- Where two saved locations overlap, the one whose centre is nearer wins.
The Locations screen
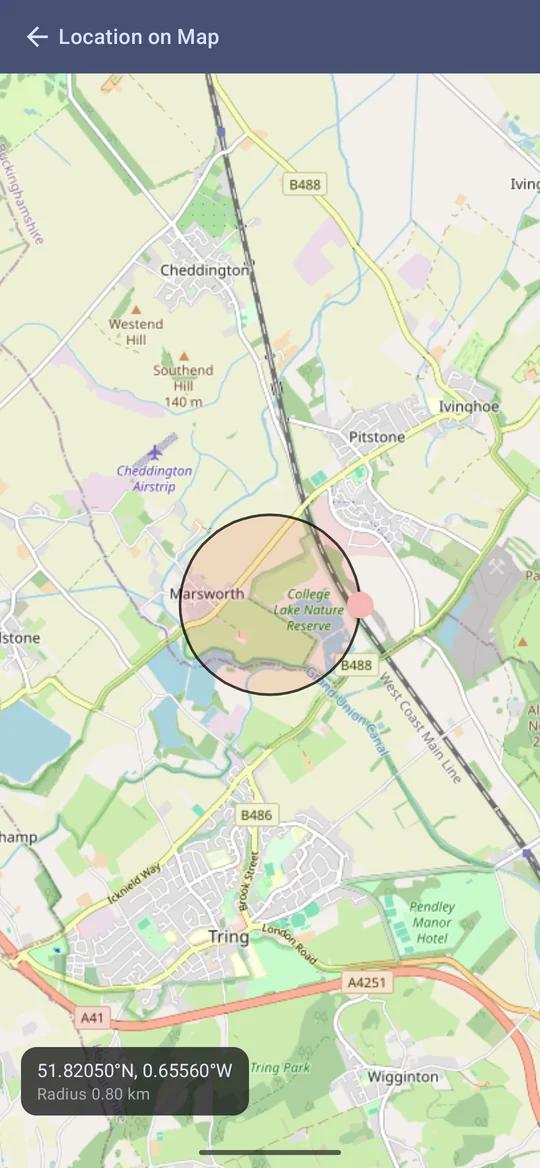
Configuration → Locations lists your named places, to correct or remove, and Add location makes one by hand from a name, latitude, longitude and radius. View on map answers "how big should the radius be": drag the circle to move it, and the knob on its edge to resize it.


Removing a location doesn't rename photos already named after it — it only stops future lookups resolving there.
Units
Distances — a move's summary, a location's radius, a track's length — are written in the unit chosen in Settings → Units: kilometres, miles, or nautical miles. A radius is typed in that unit, but stored exactly, so changing the setting never changes a saved radius.