 Forget Me Not
User manual · Chapter 6
Categories and icons
Every reminder belongs to a category, and the category decides what it looks like and — if you want — what it sounds like.
What a category is for
A category groups reminders and gives them a face. It appears in the drawer with a count, filters the itinerary when you tap it, sorts the itinerary when you sort by category, and puts its icon on every row, every notification and every occurrence panel belonging to it.
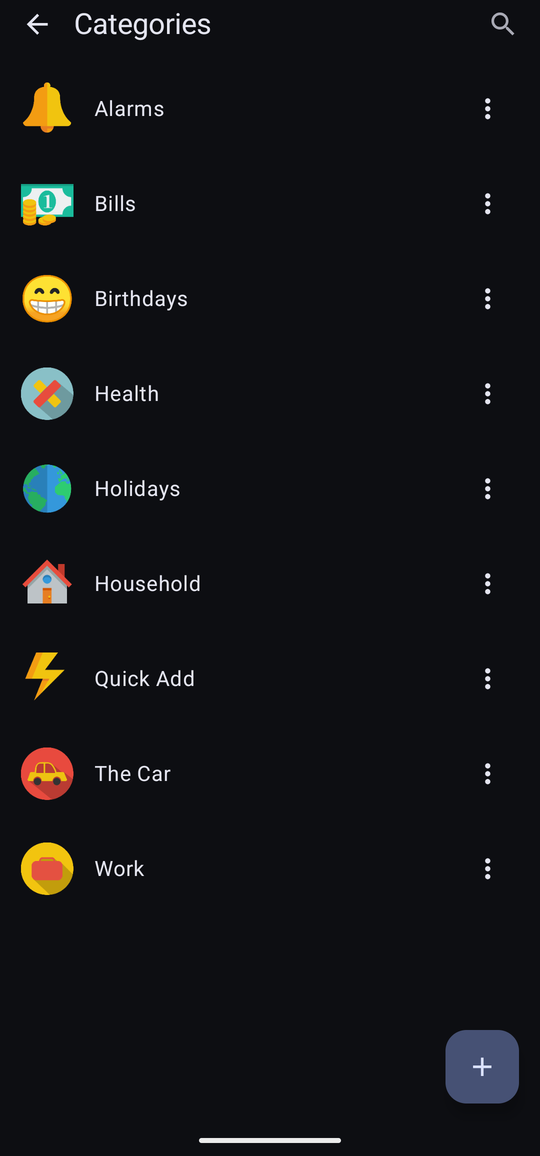
Keep the list short. Half a dozen categories that mean something — Household, Health, Work, The Car, Bills — will do more for you than twenty that need thinking about every time you add a reminder.
Making one
The + button on the Categories screen opens an empty one. It needs a name, and names are unique regardless of case — a second house alongside an existing House is refused with “There's already a category with that name.”

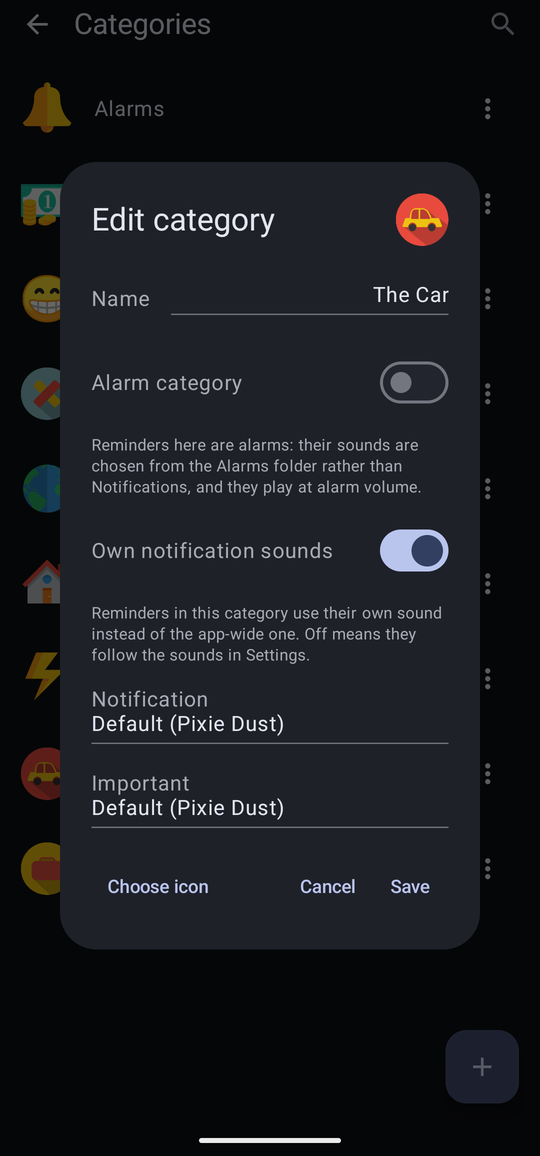
Choosing an icon
Choose icon opens the picker. The app has a set of plain built-in icons — a house, a person, a shopping trolley, a heart, a star, an envelope, an alarm clock, and so on — and you can tint any of them the colour of your choosing.
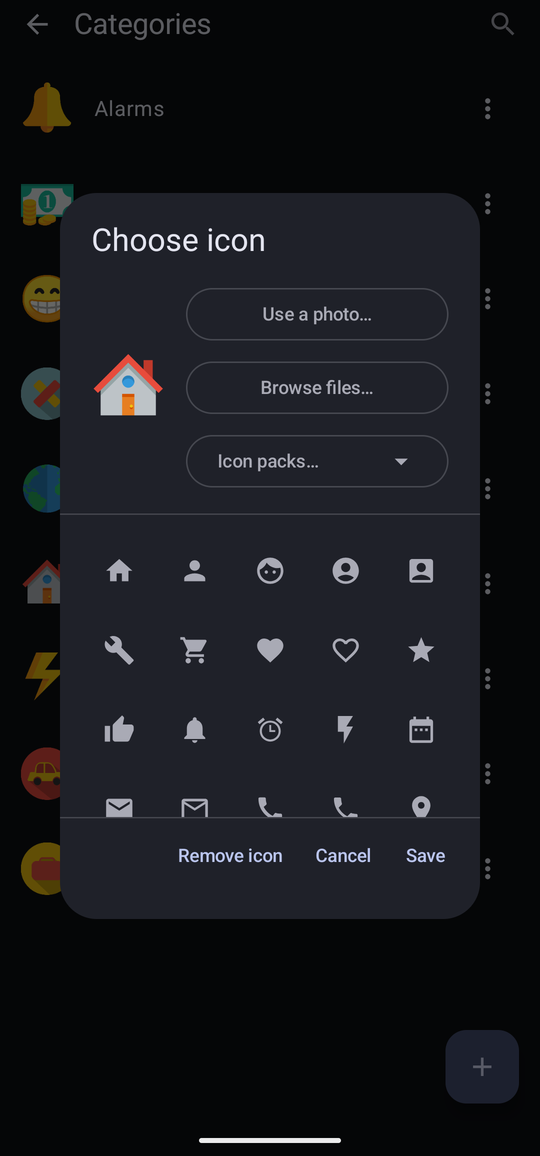
The three buttons at the top of the picker are the interesting ones:
- Use a photo… — picks from your photo library.
- Browse files… — picks any image file on the device, including anything you have downloaded.
- Icon packs… — opens one of the sets of colourful icons the app comes with. See Icon packs, just below.
Icon packs
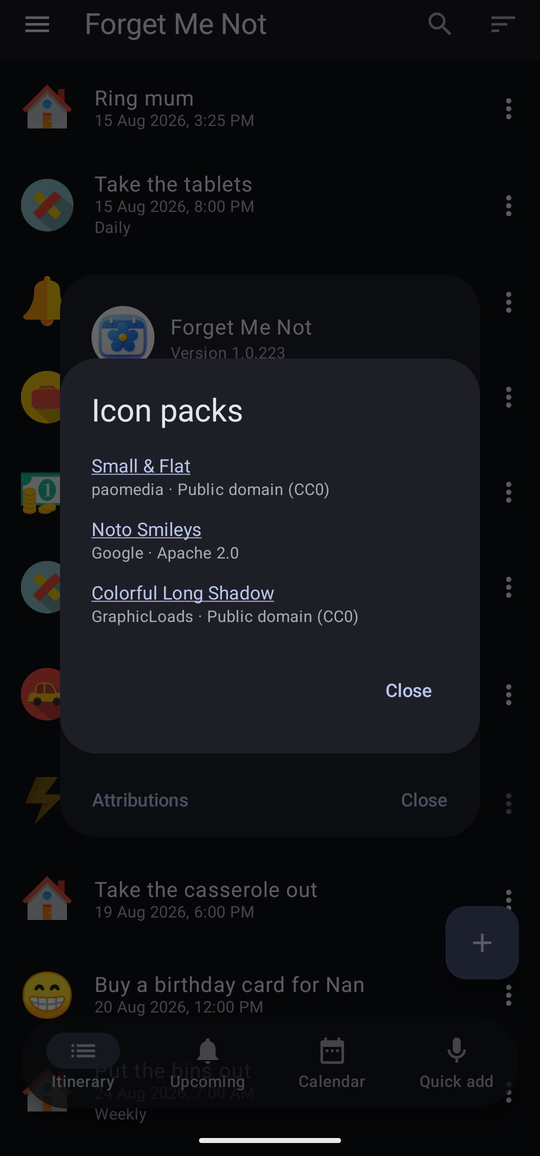
Three packs of ready-made colour icons ship inside the app, so a category can look like something without your having to find a picture first. Nothing to download, and they work with no connection.
- Small & Flat — 169 everyday objects and symbols: a house, a key, a beer, a calendar, a wrench, a cat, a pile of money.
- Noto Smileys — 109 emoji faces, if a mood suits the category better than an object does.
- Colorful Long Shadow — 199 objects and symbols in a bolder, drop-shadowed style, for a category that wants to stand out rather than blend in.
Tap Icon packs…, choose the pack by name, and scroll. Tapping an icon brings it back to the picker as your choice; it is saved when you tap Save, the same as any other icon, so you can change your mind on the way.

Pack icons come in colours of their own, so the Colour row disappears while one is chosen — there is nothing left to tint. Pick a built-in icon again and the colours come back.
All three packs are free for anyone to use, commercially included, and all are credited under Attributions, from About, and on the Credits page.
Using an icon of your own
Every category and field icon shown throughout this manual is one of the three built-in packs above, chosen exactly as anyone would choose one under Choose icon → Icon packs…. The one exception is this page, where a handful of icons are downloaded on purpose to show what Browse files… is for — see below.
Any image on the device can be a category icon, which matters for the rare case the three packs do not cover — none of them, for instance, has an aeroplane. In practice the ones that work are small, square and simple — an icon rather than a photograph — and free icon sites have hundreds of thousands of them.
Step 1 — find and download an icon
On the phone, open a free icon site such as iconarchive.com in a browser and search for the thing rather than the idea: plane rather than holiday, bin rather than rubbish collection, tooth rather than dentist. Pick a size — anything from 48 pixels upwards is plenty — and download the PNG. It lands in your Downloads folder. Check the licence shown against the set if you intend to use it anywhere but your own phone; a photograph of your own needs no licence at all and works just as well.
Step 2 — point the app at it
In the app, open the category, tap Choose icon, then Browse files… and find the file you downloaded.

Step 3 — crop it, or don't
The crop screen appears next. Drag and pinch the square over the part you want. For an icon that is already the right shape there is no need to crop at all — Use full image keeps the picture whole, proportions and all.
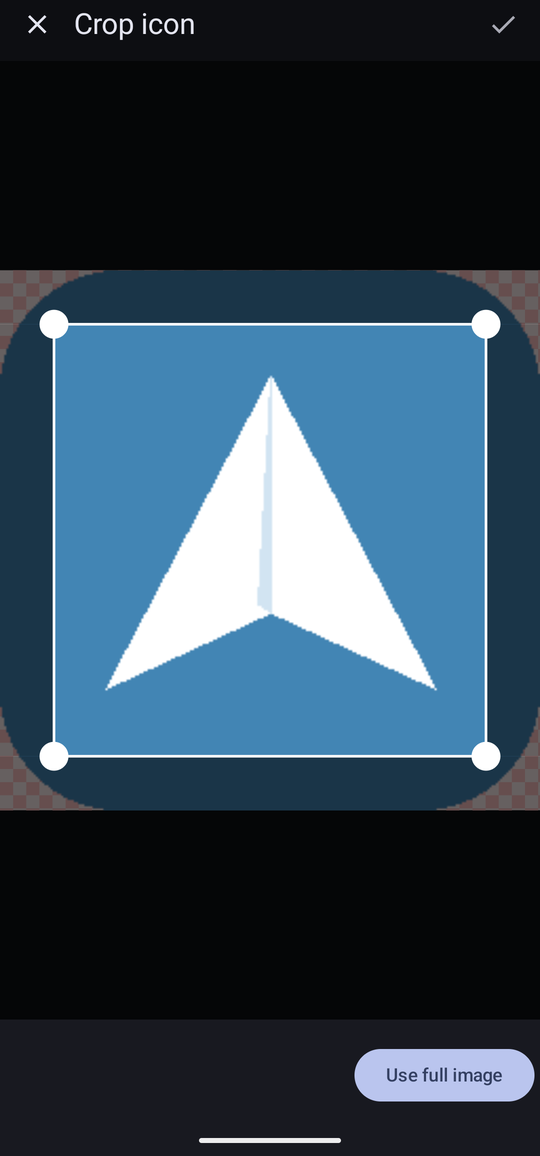
Confirm with the tick in the top bar, and the category has its icon — on the drawer, on every row, in every notification, and in every occurrence panel — exactly as a category set from one of the built-in packs does.
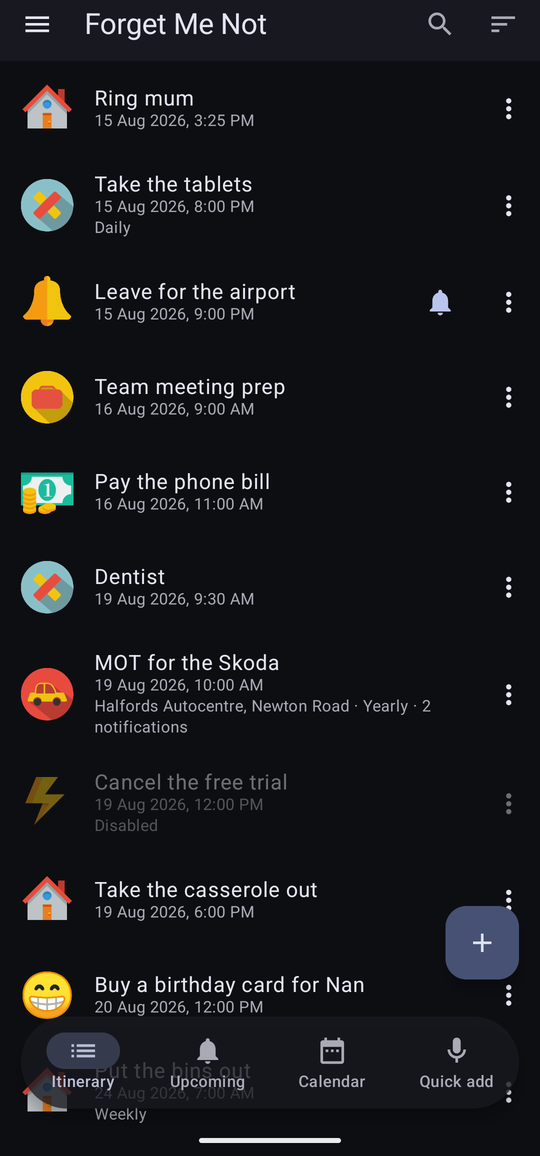
The picture is copied into the app when you save it, resized to icon size. The original file is never needed again, so you can delete it from Downloads afterwards, and no long-lived permission is held over your photo library. Copies are also carried in a backup.
Icon style
Settings → Display → Icon style decides the shape every category icon is drawn in throughout the app: Round, Square or Rounded square. It is one setting for the lot, so the app stays consistent whatever mixture of built-in and downloaded icons you have ended up with.
Sounds, and alarm categories
Two switches on the category form change how its reminders behave.
Own notification sounds
The one app-wide notification sound, under Settings → Sound, is free — an app you cannot hear is not a reminder app. Giving each category a different sound needs Pro or the thirty-day trial. On Free the switch below is greyed out, and a category that already has its own sound quietly uses the app-wide one instead, with the switch reading off to match rather than promising a sound that will not play. Nothing is deleted: the choice comes back with Pro. See Free and Pro.
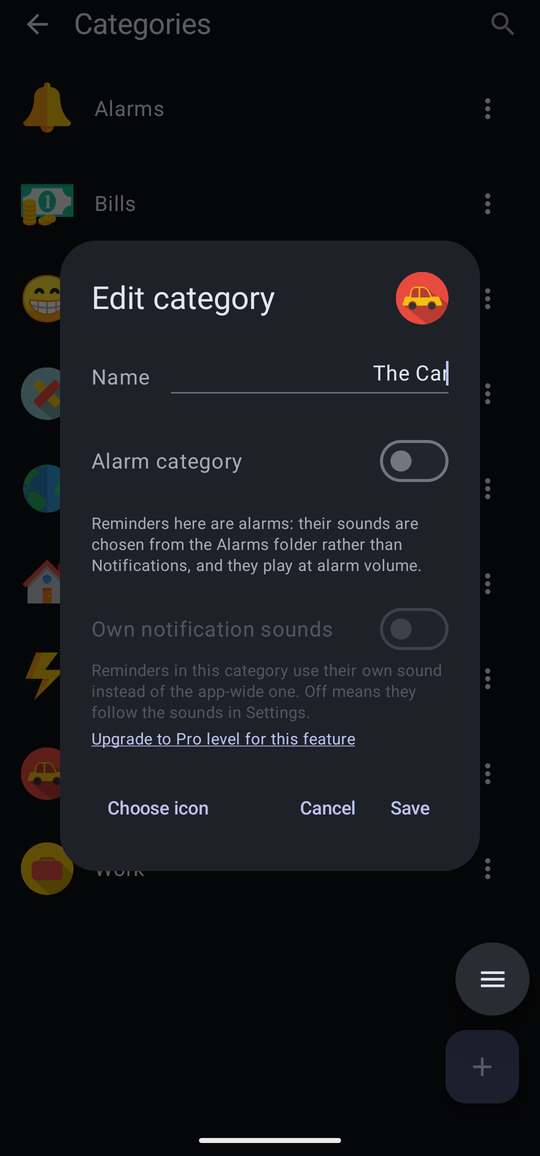
On, and reminders in this category use a sound of their own instead of the app-wide one. Off, and they follow the sounds set under Settings → Sound.
Turning it on creates a notification channel for the category in Android's own settings, under a group called Category sounds, and gives you a row that opens it. Android keeps sound and vibration with the channel, which is why the choosing happens over there rather than in the app.
A brand-new category cannot have its own sounds until it exists, and says so: “Save this category first, then reopen it to give it sounds of its own.”
Alarm category
On, and the reminders filed here are alarms rather than notifications: their sounds are chosen from the phone's Alarms folder rather than its Notifications folder, and they play at alarm volume. That is the difference between something you might sleep through and something you will not.
The flag also sorts the two pickers under Settings → Defaults, so a category appears under exactly one of Quick add category and Alarm category rather than both.
Renaming and deleting
Renaming a category is safe: the drawer, every reminder's row and every picker follow it immediately.
A category in use cannot be deleted. If any reminder is filed under it, the app says so and keeps it; move those reminders to another category first — the itinerary's multi-select can do the lot in one go — and it will then delete. The same applies to the two categories named in Settings → Defaults: the one quick add files things under and the one alarms are filed under. Choose a different category there first.
Deleting an unused one warns you that its icon goes with it, and does nothing else. Deleting a category is never a way to lose a reminder.